

Bit of an randomly placed post this time since I actually built this printer last year around this time, but I wanted to share the build log of my upgrade from my first 3D printer to the one I am printing on currently.
When I’d decided to start into my 3D printing hobby, I did my research and read forum post after forum post of what was the best printer to get, then when I had an idea, asked my friends what their thoughts were too, just to get additional advice. And armed with my new knowledge, and looking to get a reasonably priced printer that was easy to assembly and start using straight away, I ended up getting the Monoprice Maker Select Plus, a rebrand of the Chinese made Wanhao i3 Plus; which was an all around good starting printer at the time and widely recommended. I printed with it, modded it, upgraded the nozzle, got a glass bed for it, and had lots of frustration and fun learning the ins and outs of 3D printing.
Fast forward several years and a number of printing projects later, and I decided I wanted an upgrade. I wanted something new, something different, something a little better, with more bells and whistles. And I had my eye on the exact printer that I wanted: the Prusa i3 Mk3S. So as a birthday present to myself, for that year I splurged and purchased one for myself. And thus began the next step in the journey of my 3D printing hobby.
Package Inspection! 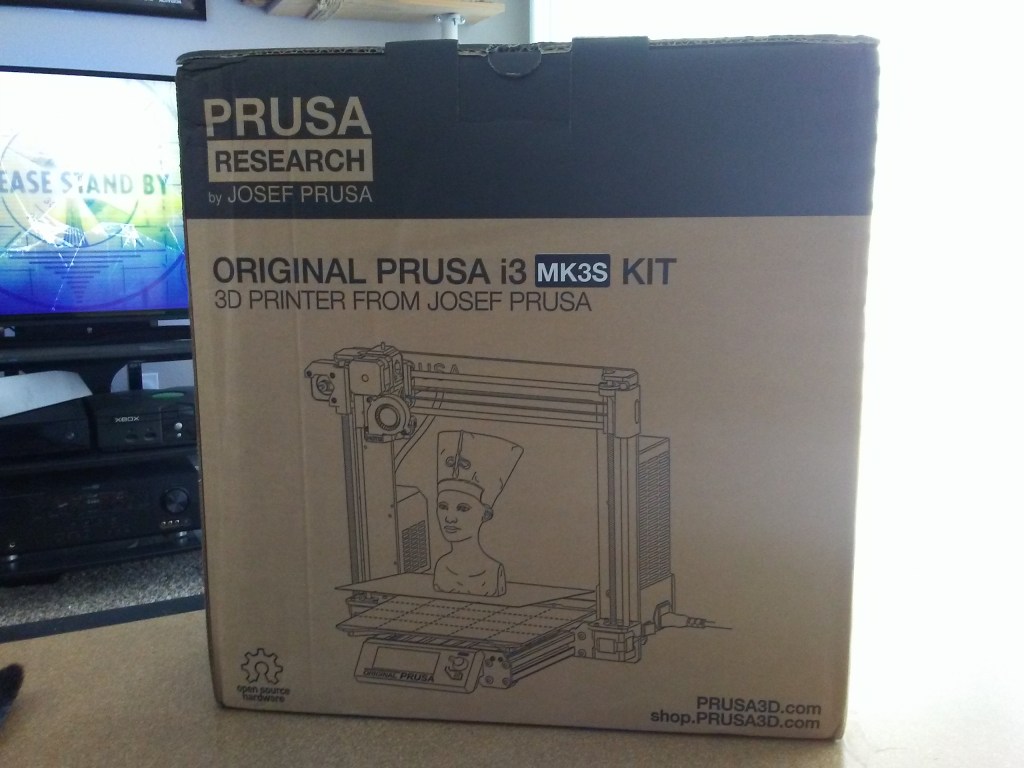
Package Accepted. 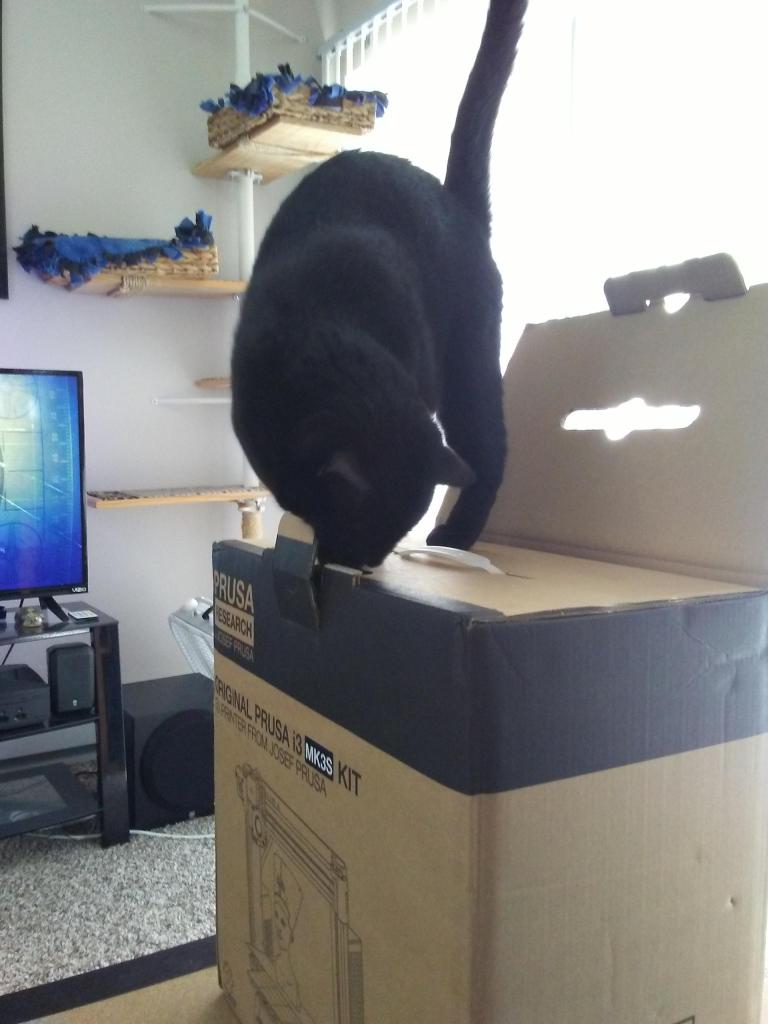
Time to open it up and get to building the kit.
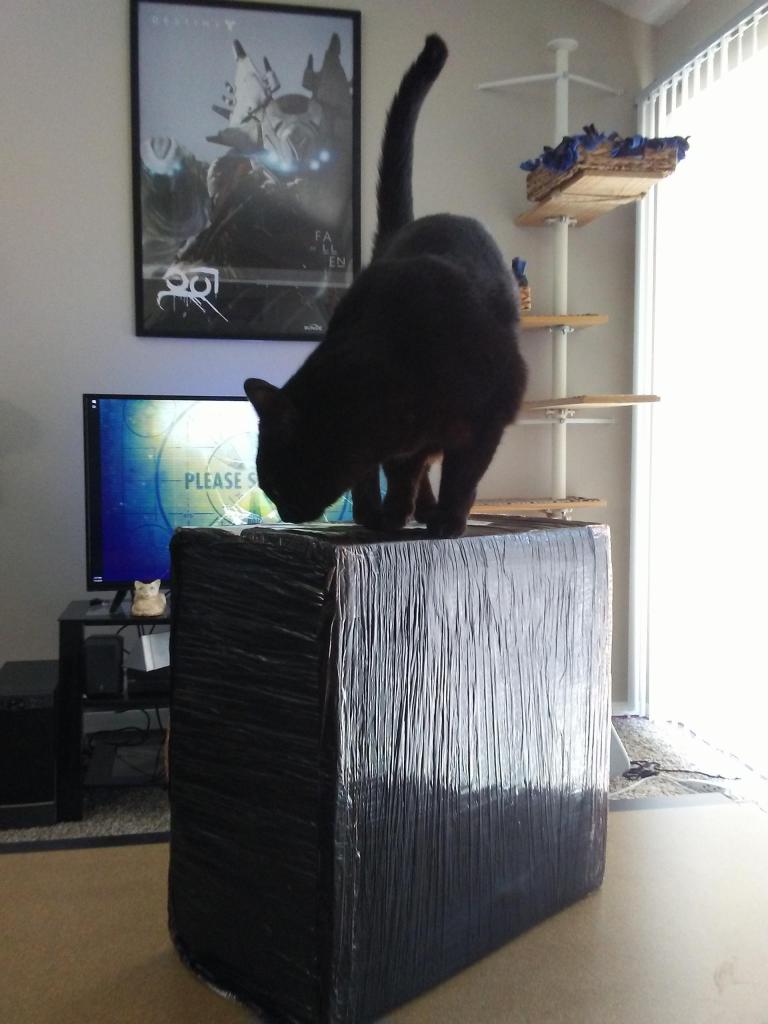
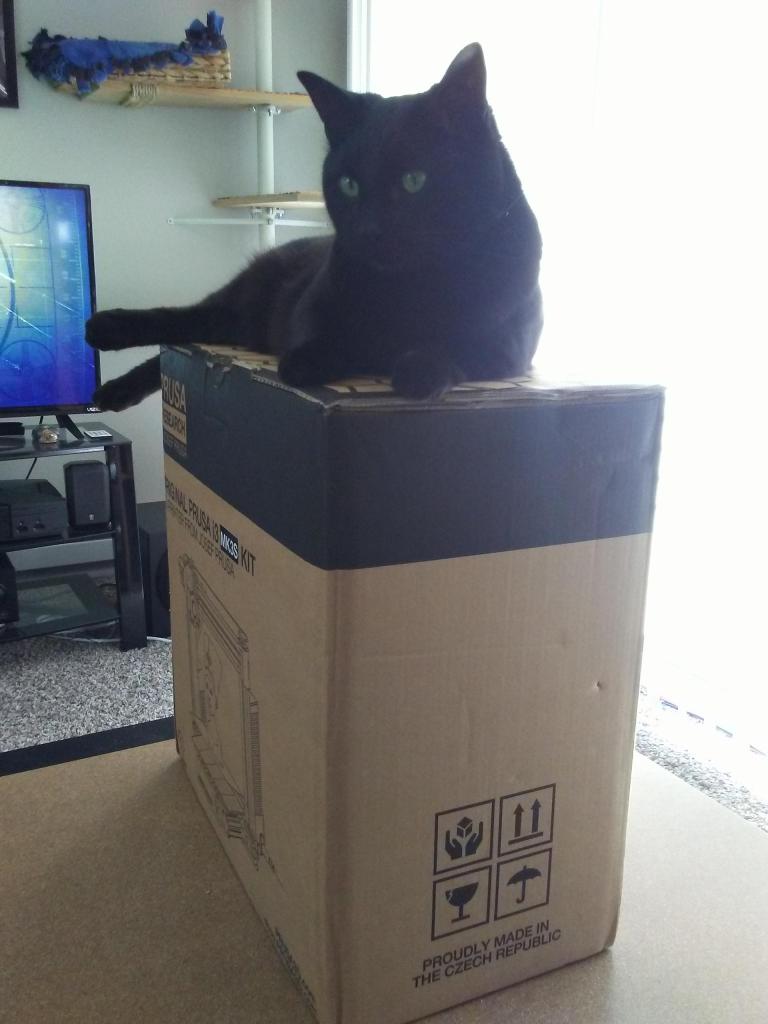
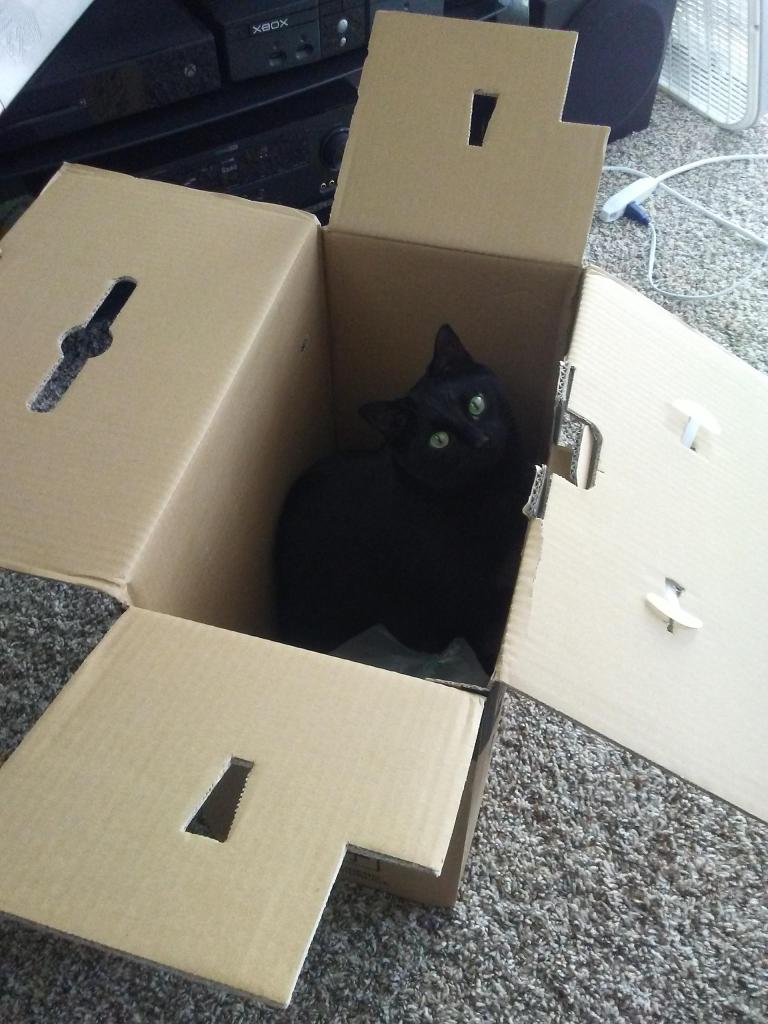
The kit came in a single box all wrapped and packaged quite well making it through customs all the way from Prusa Research in the Czech Republic to my humble apartment. Of course, thorough cat inspection was required of any package that entered the premises.
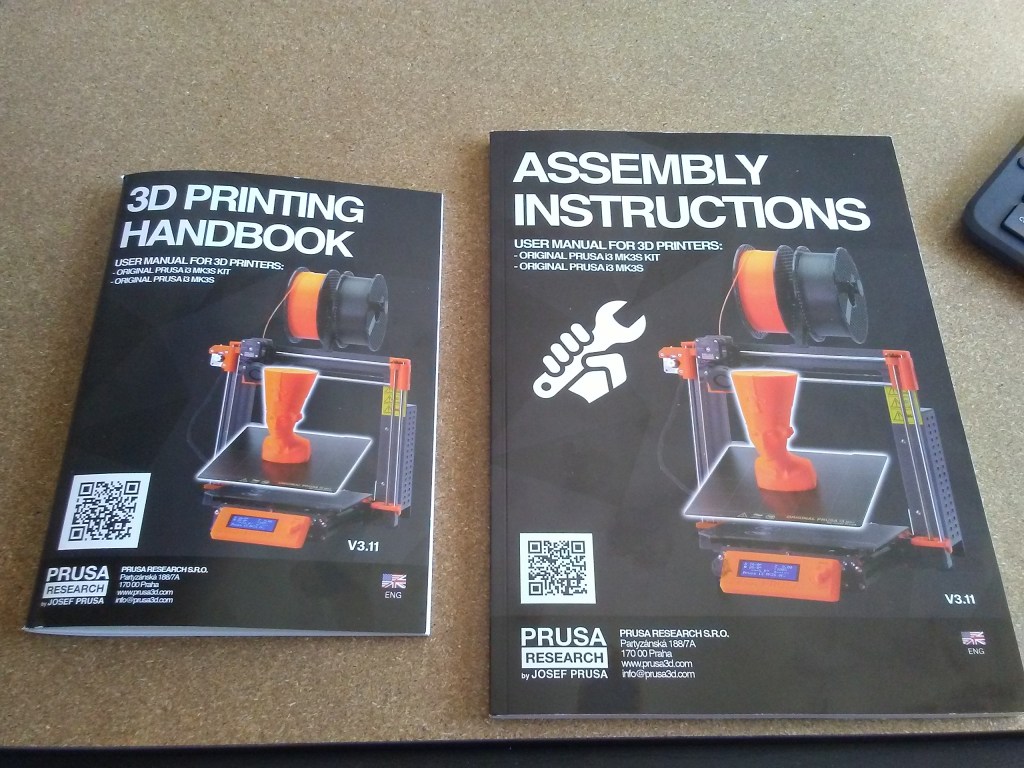
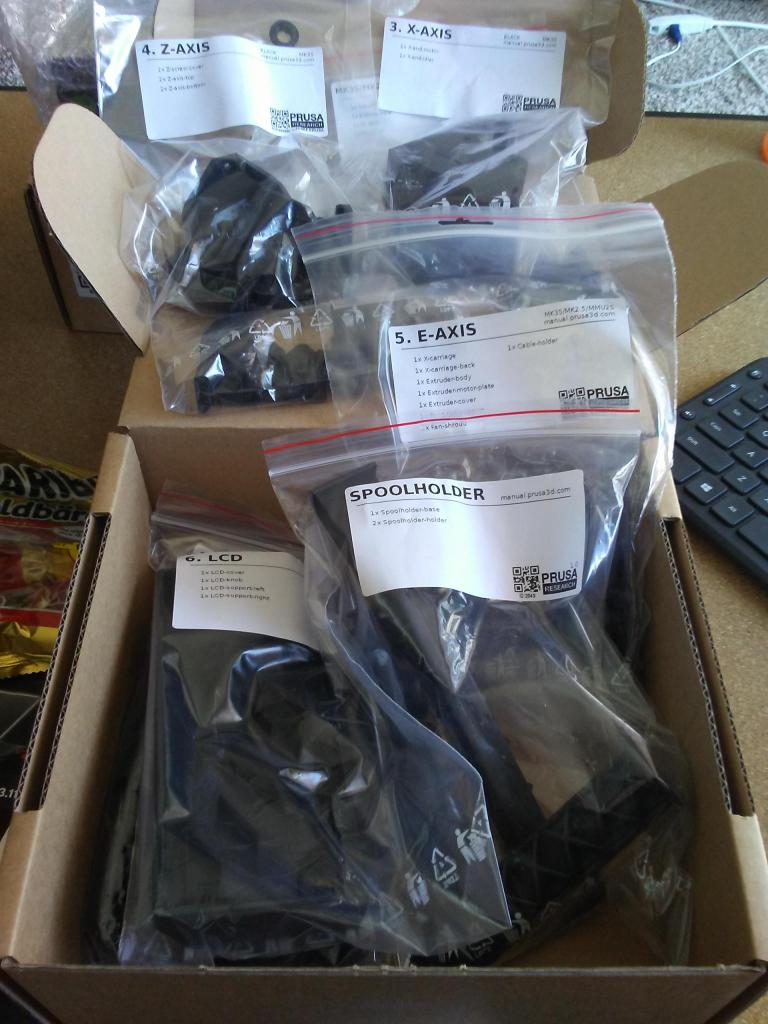

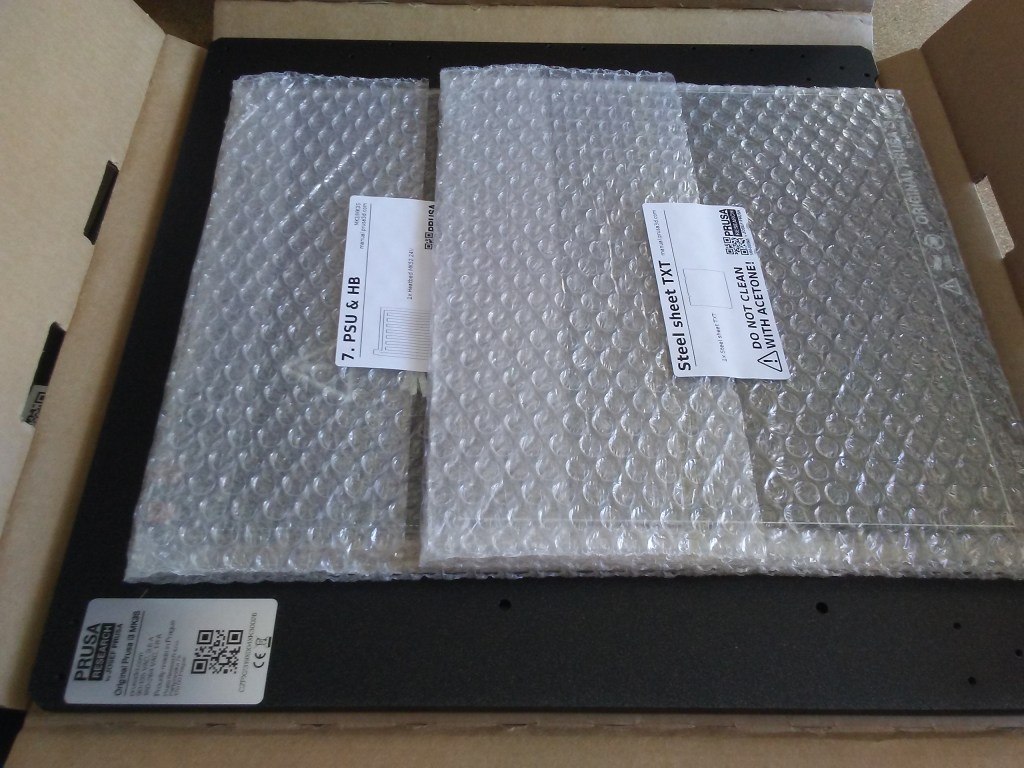
Prusa included everything in this kit, instruction manuals, assembly hardware, 3D printed parts for the printer, and a snack to keep up my energy throughout the build.
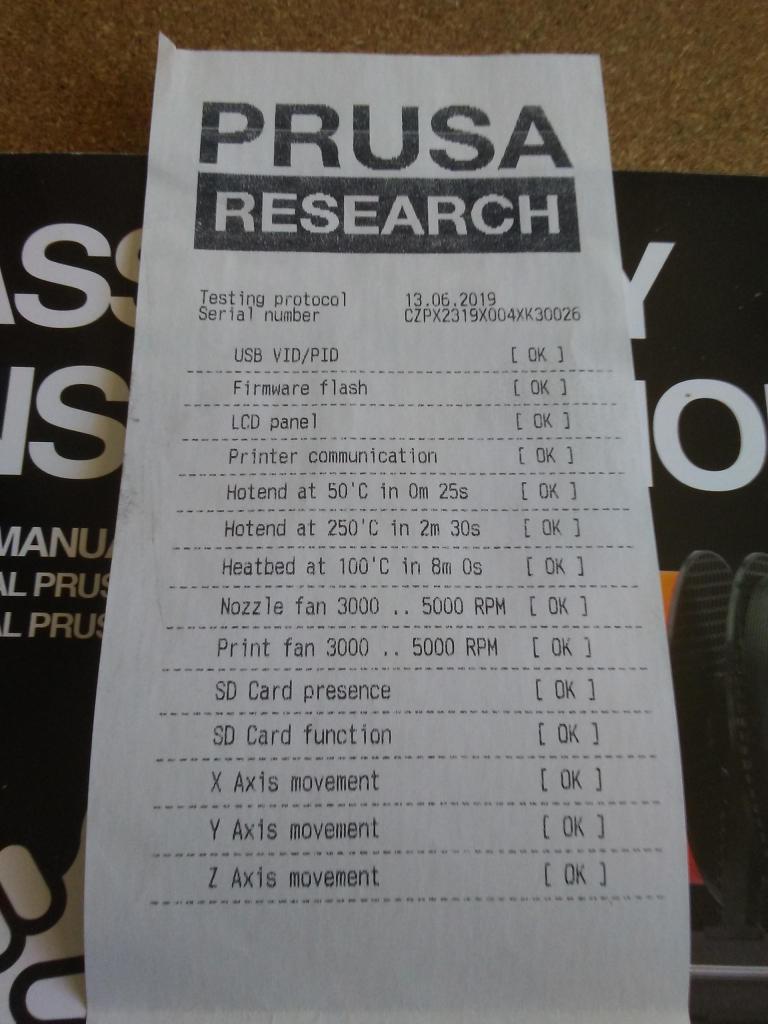
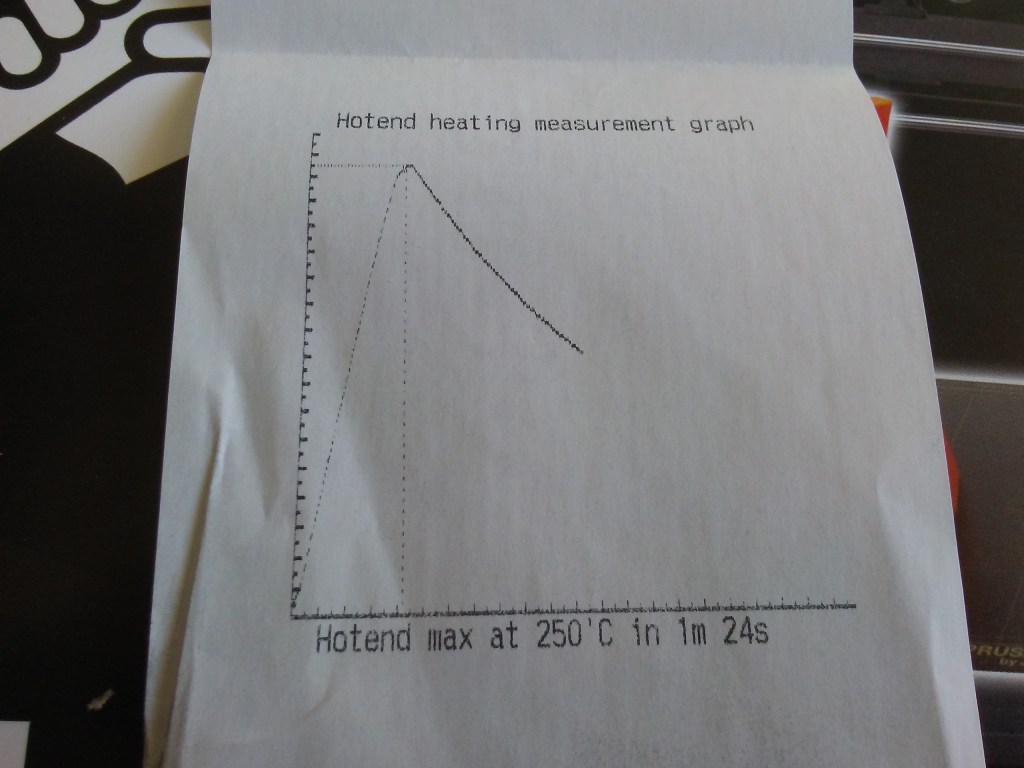
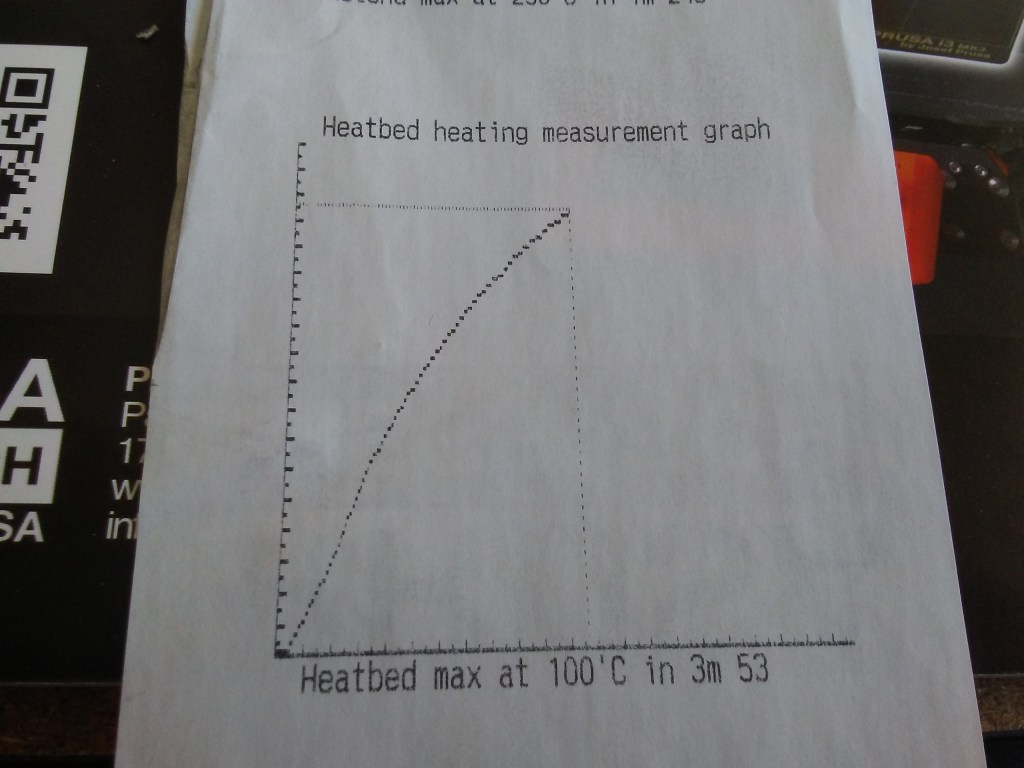
They even sent the quality control check receipts so you know that the parts you are getting in the kit actually work.

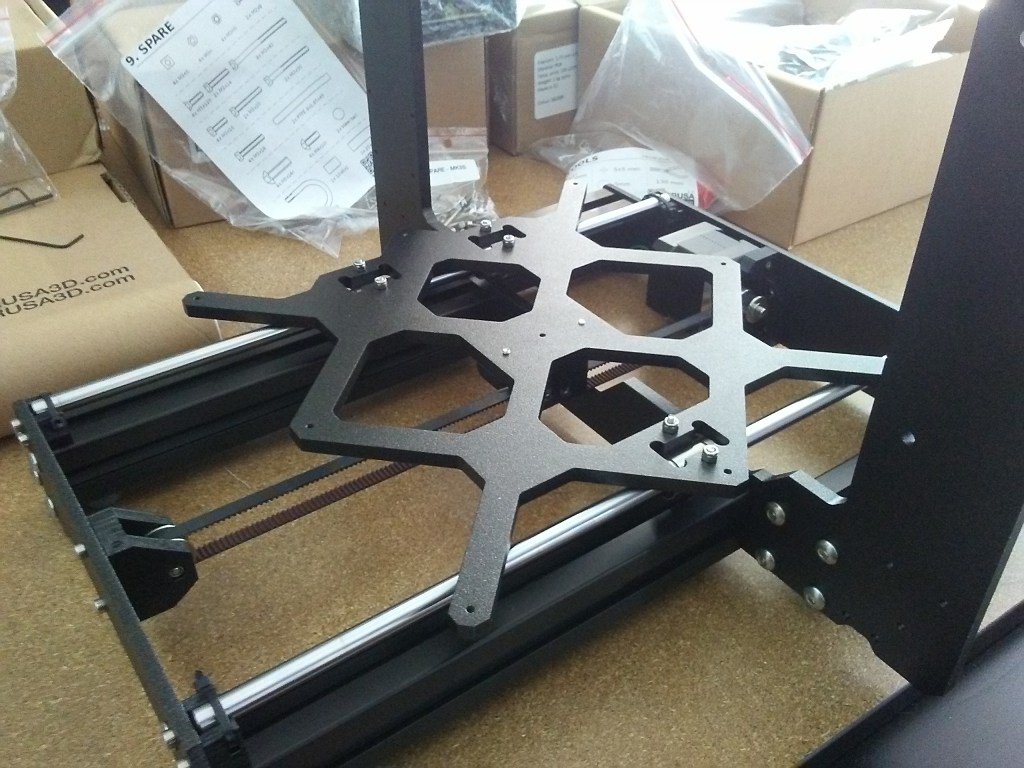
Everything unpacked, instruction manual open, time to start building.
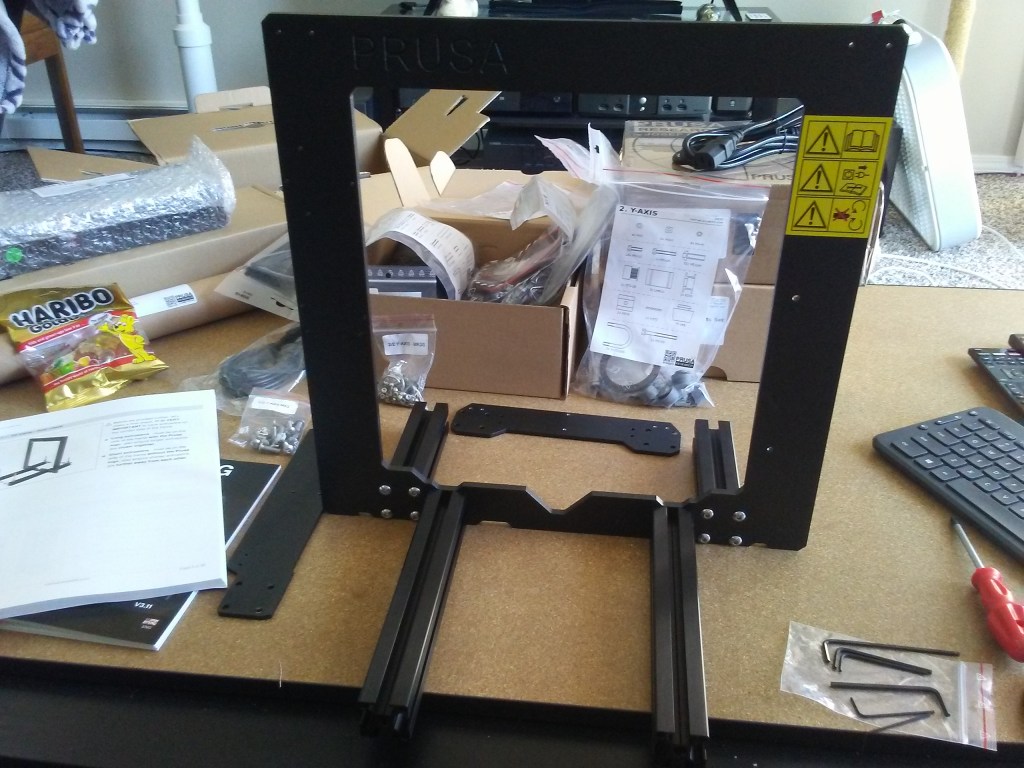

Printer frame finished. Already this thing was feeling sturdier and more rigid than the Maker Select. Next up, assembling the Y-axis.

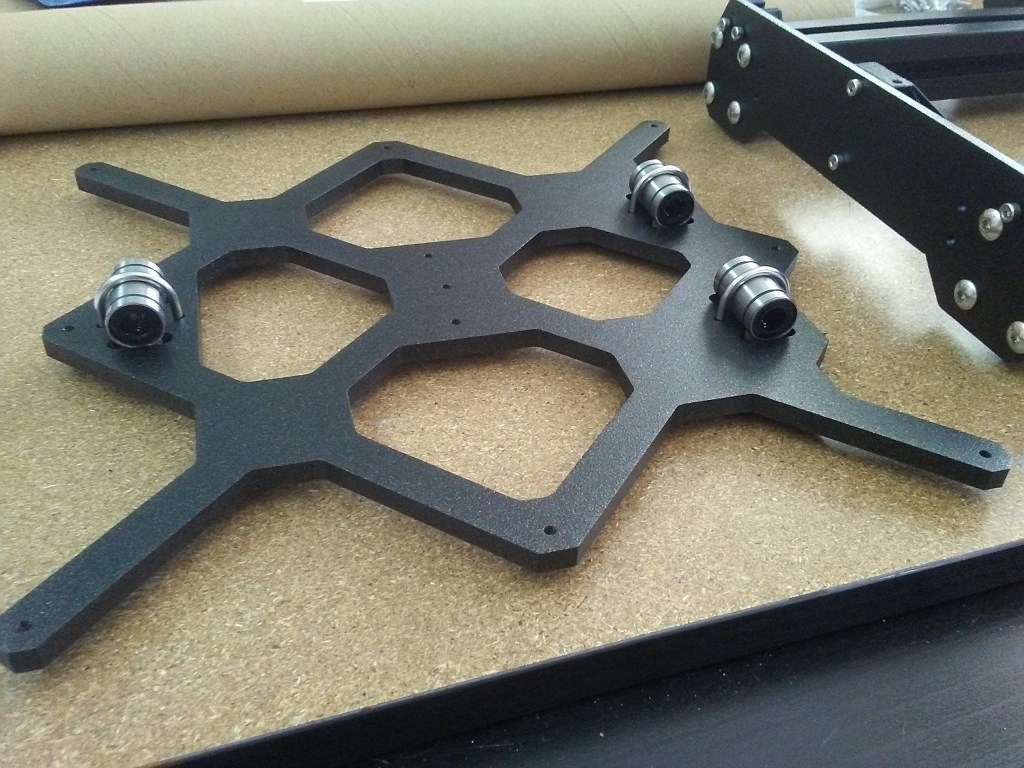
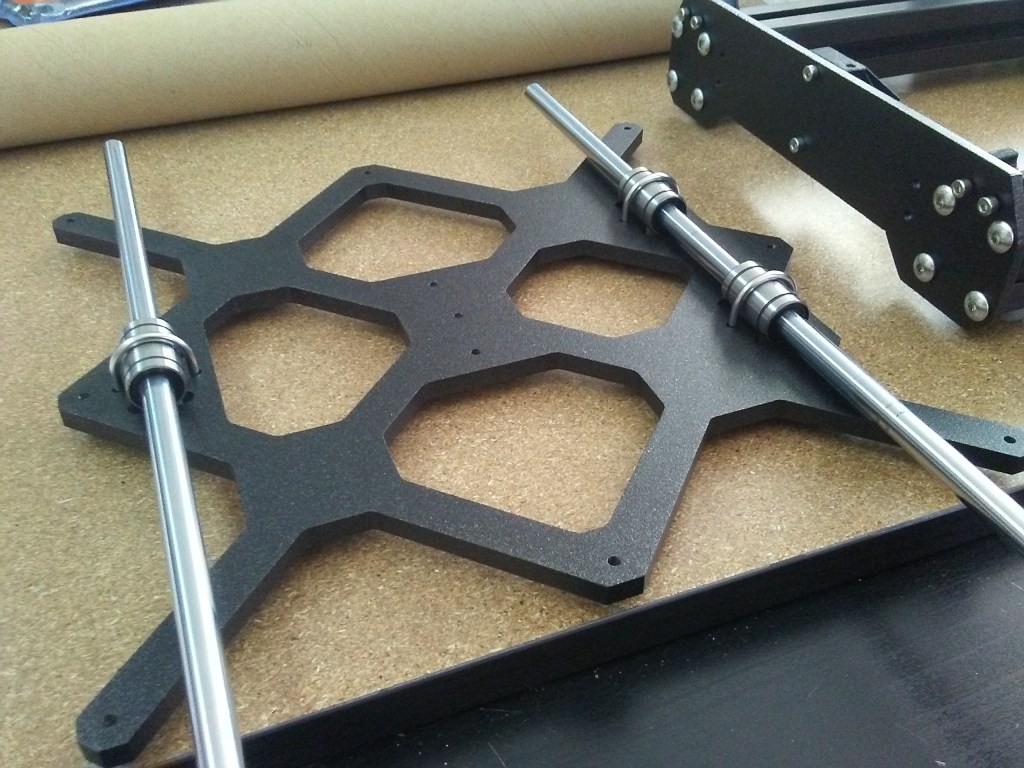
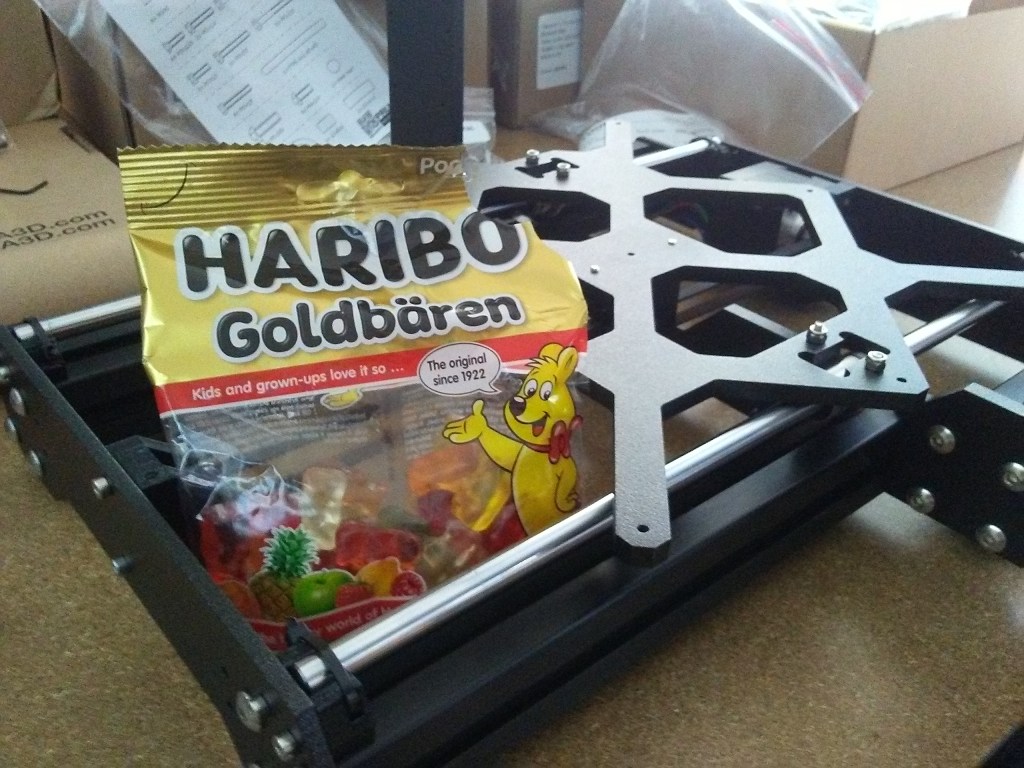
The quality difference in the Y-axis plate from the Maker Select is night and day, from a thin stamped plate of aluminum to this much thicker and more rigid plate. Also, if you remember from your math classes way back when, 3 points make a plane. So, keeping with that, 3 bearings across the two linear rods, to create the plane of the print bed on the Y-axis. Anyway, Y-axis done, gummy bears broken into, next: X-axis & Z-axis assembly.
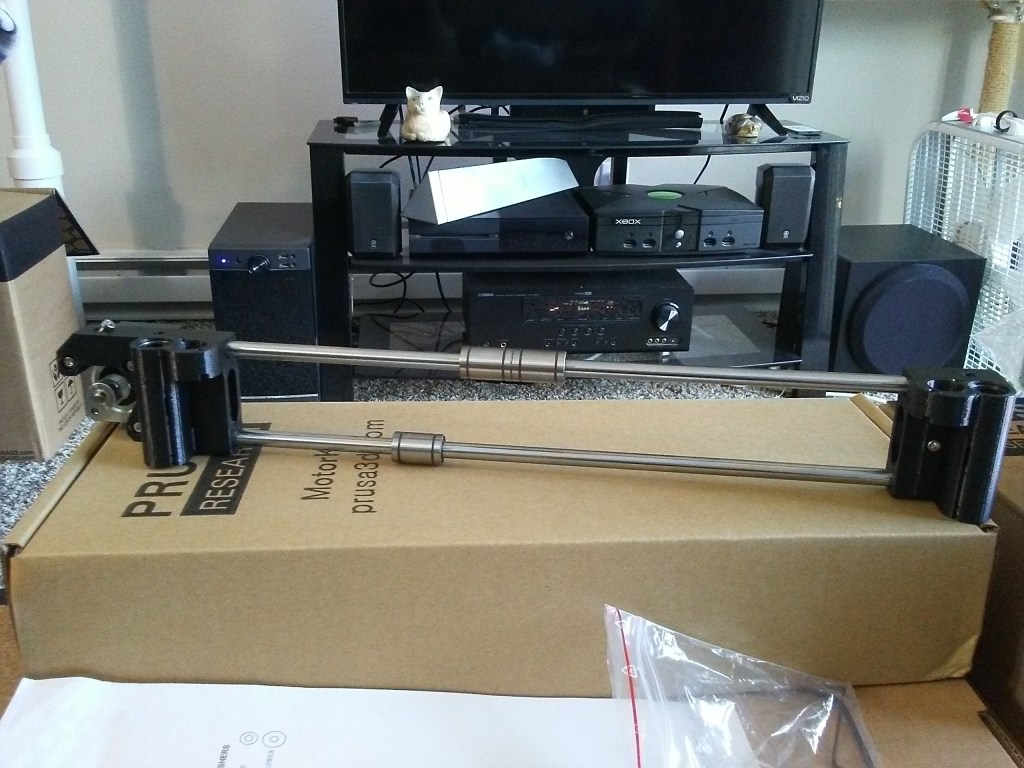
Linear rods for the X-axis. 
X-axis rods installed on the Z-axis screws.
X and Z-axis assembly went quickly and smoothly. Onto the X-axis carriage and the hot-end.
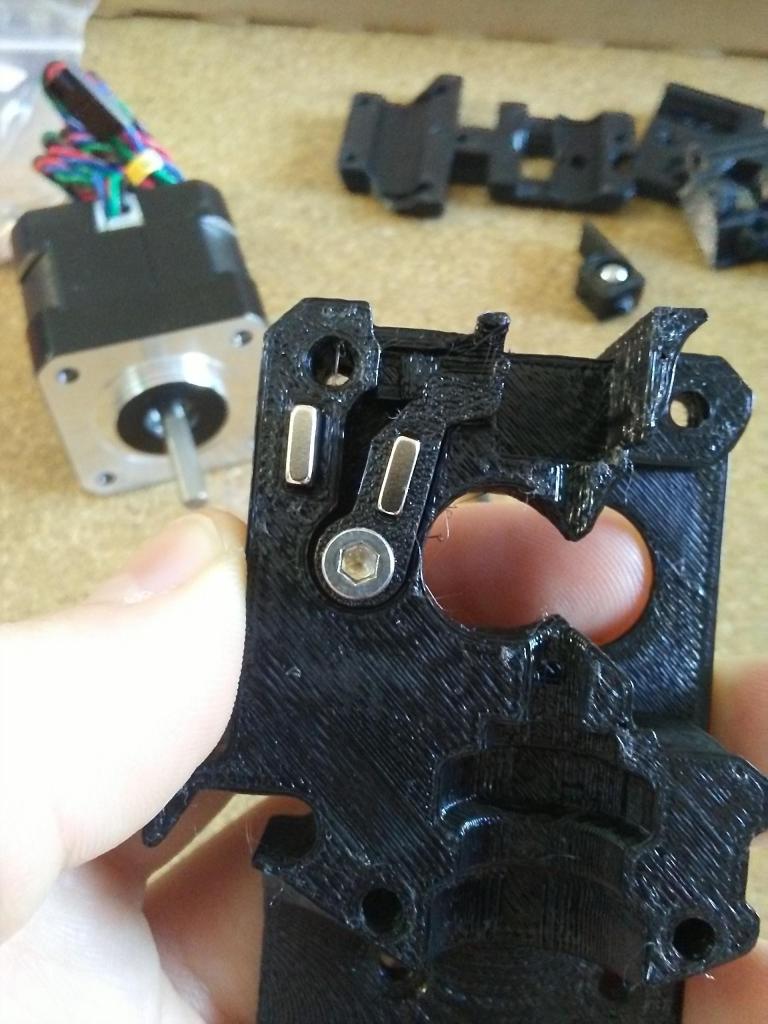
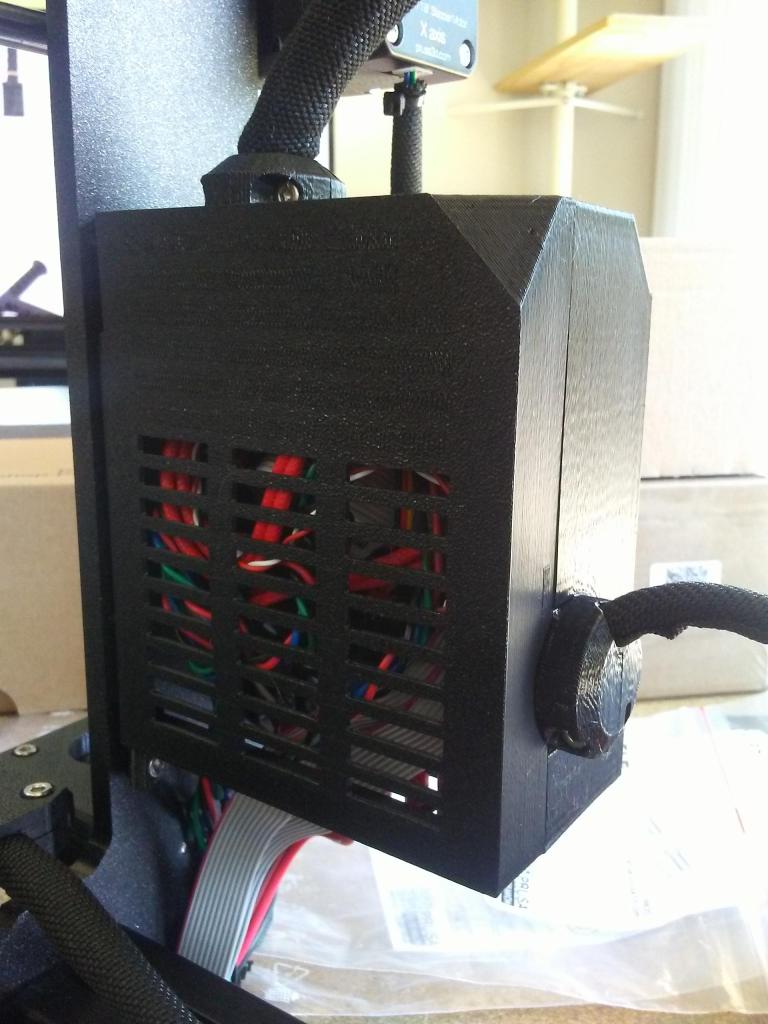
X-carriage body. 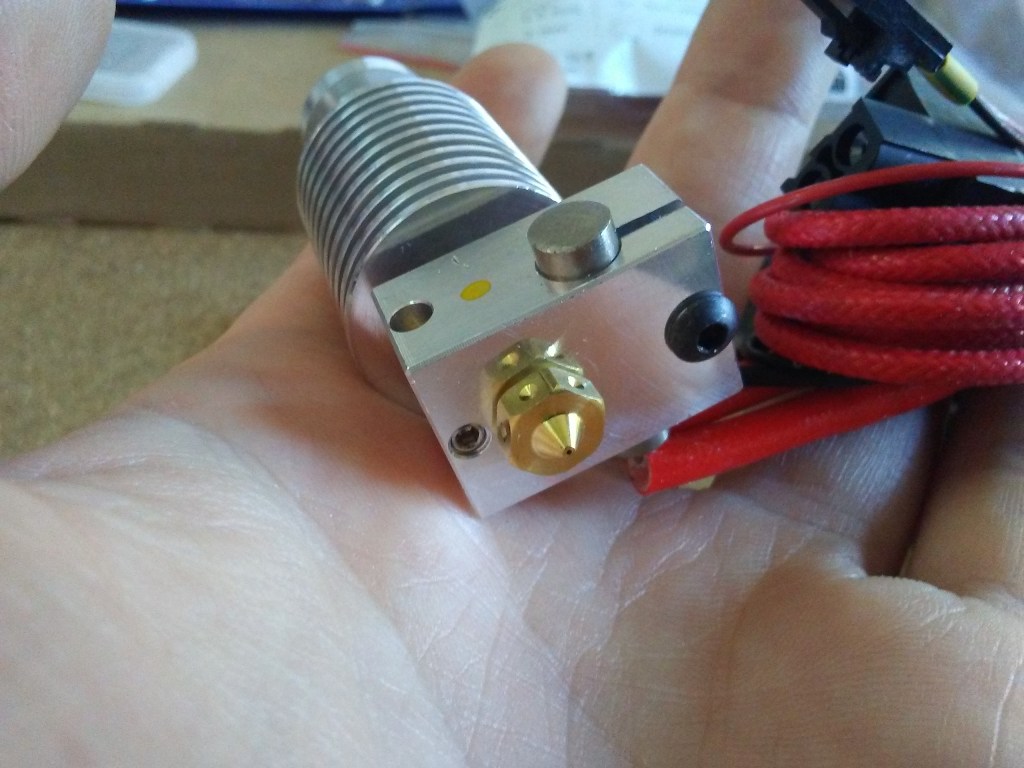
Hot end. 
Installed in the X-carriage. 
X-carriage w/ hot end installed. 
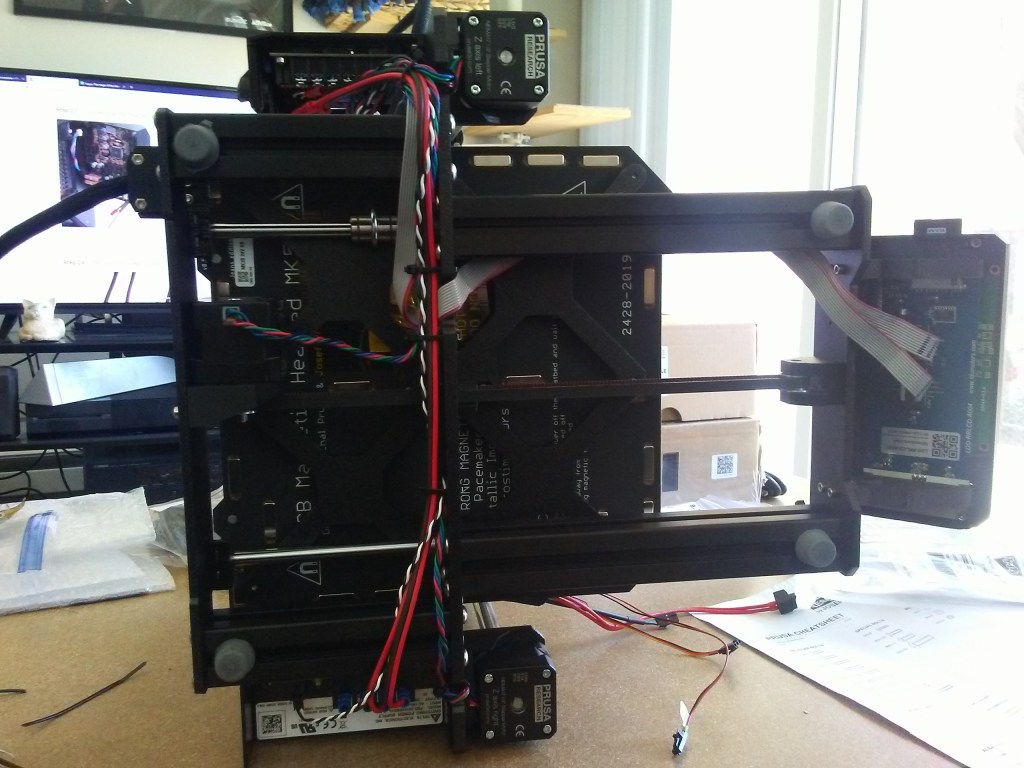
Back-side view with all the wiring.
X-carriage installed with the hot end, cooling fans, stepper motor, filament sensor, and PINDA probe. The filament sensor and the PINDA probe were two parts of this printer that I was really excited about. With the filament sensor, I would have much less worry of the printer running out of filament on me unexpectedly. And with the PINDA probe, automatic mesh bed leveling; no more fiddling with adjustment screws, fighting to level a warped print bed like on the Maker Select.
Next up, hot bed assembly.
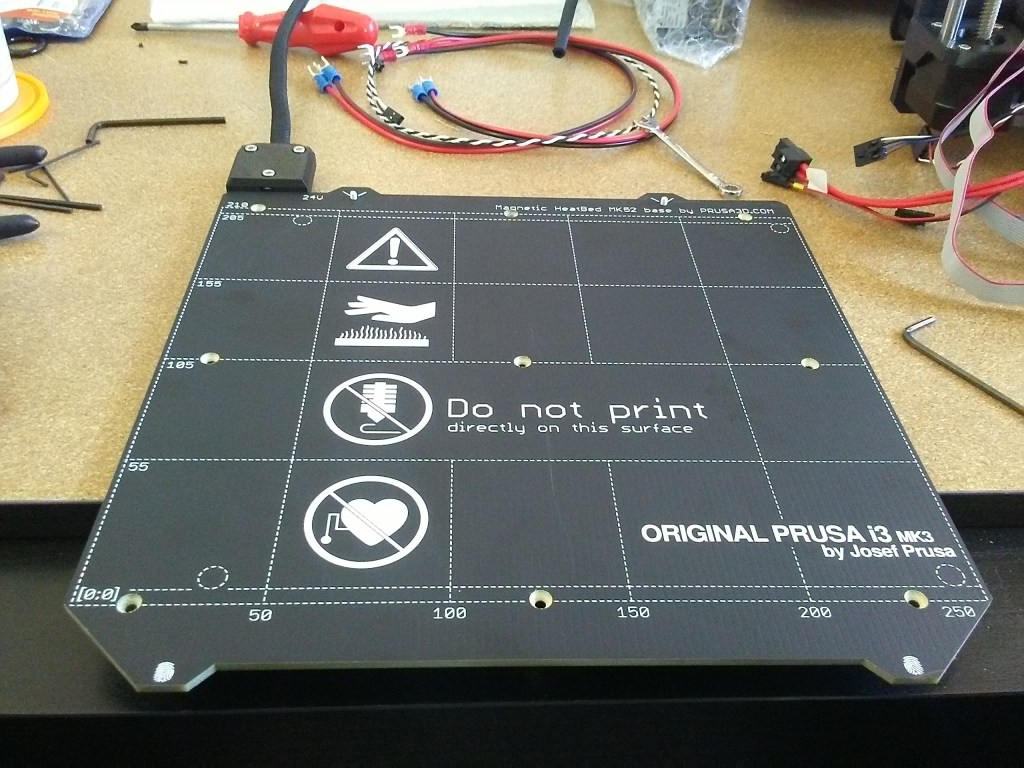
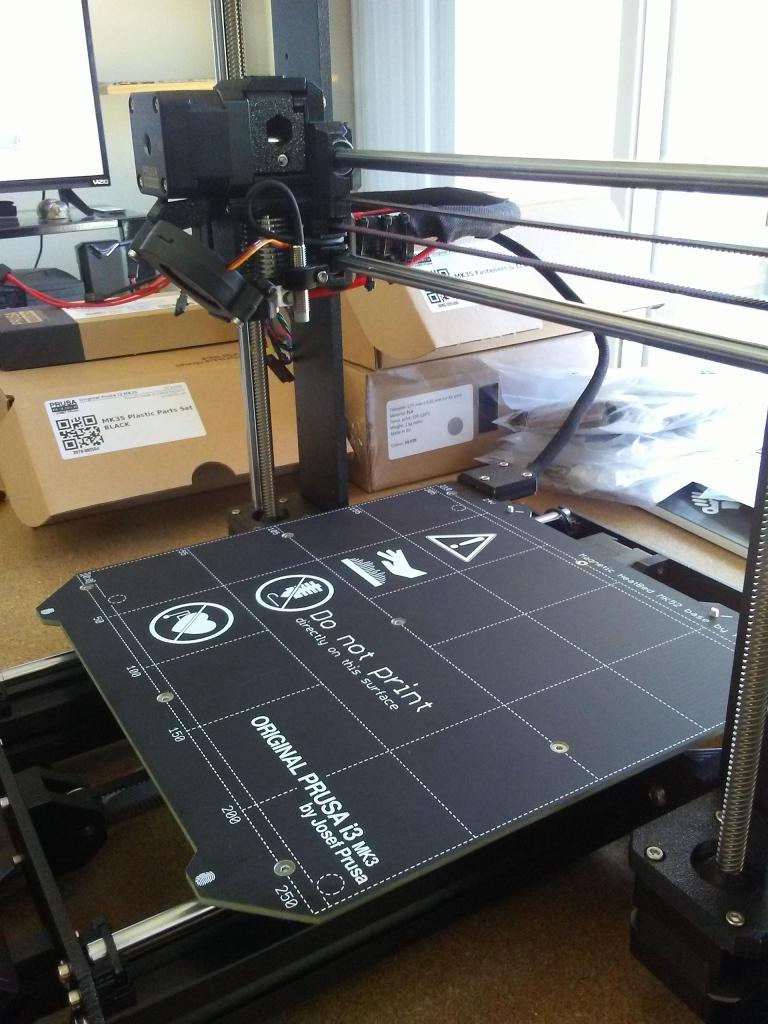

And a magnetic hot bed at that. Another feature of this printer I was super stoked for, the magnetic hot bed and spring steel print surface. Whereas I was printing on glass before, and previously the build-tak surface, on the aluminum hot bed of the Maker Select, I’d have to take a (rather sharp) paint scraper to my prints to get them off the bed if they stuck too well. With the magnetic bed and the spring steel print surface, I could easily remove it when cool and flex the spring steel to pop off the print.
Okay, enough gushing over new features, onto the power supply!

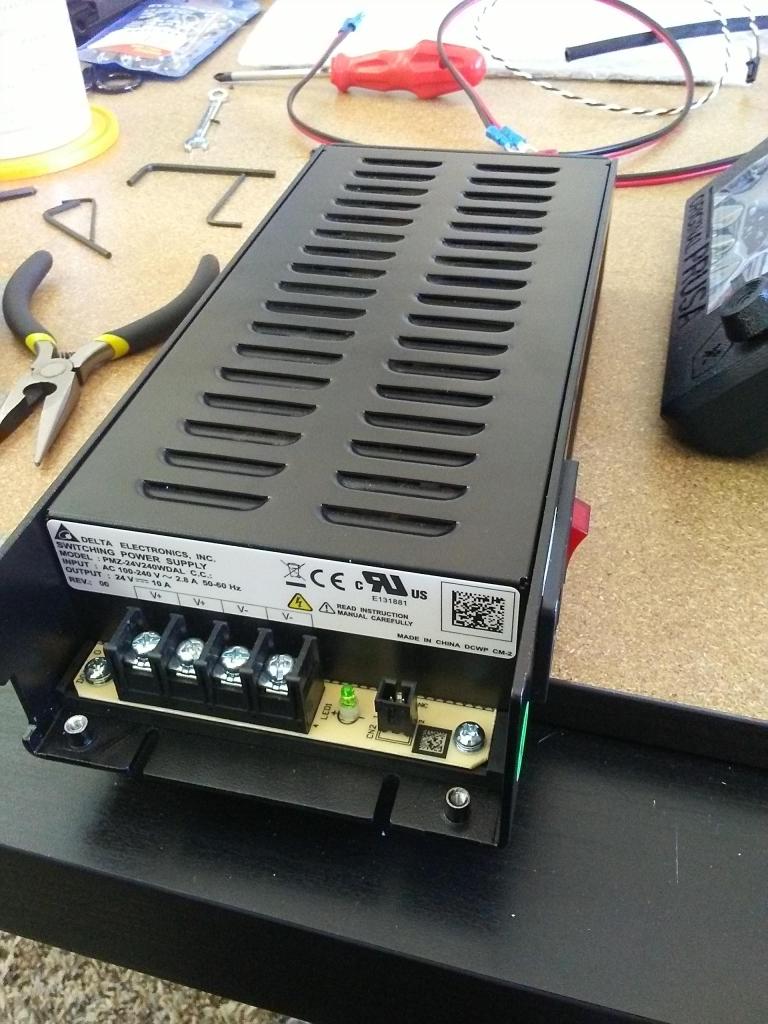
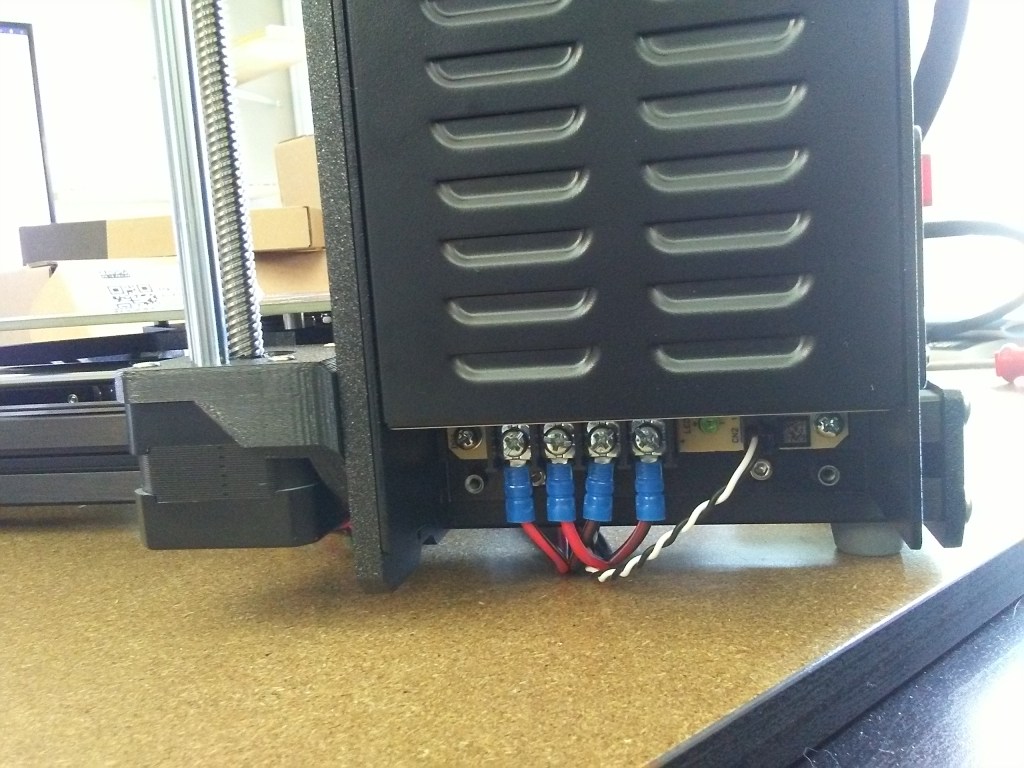
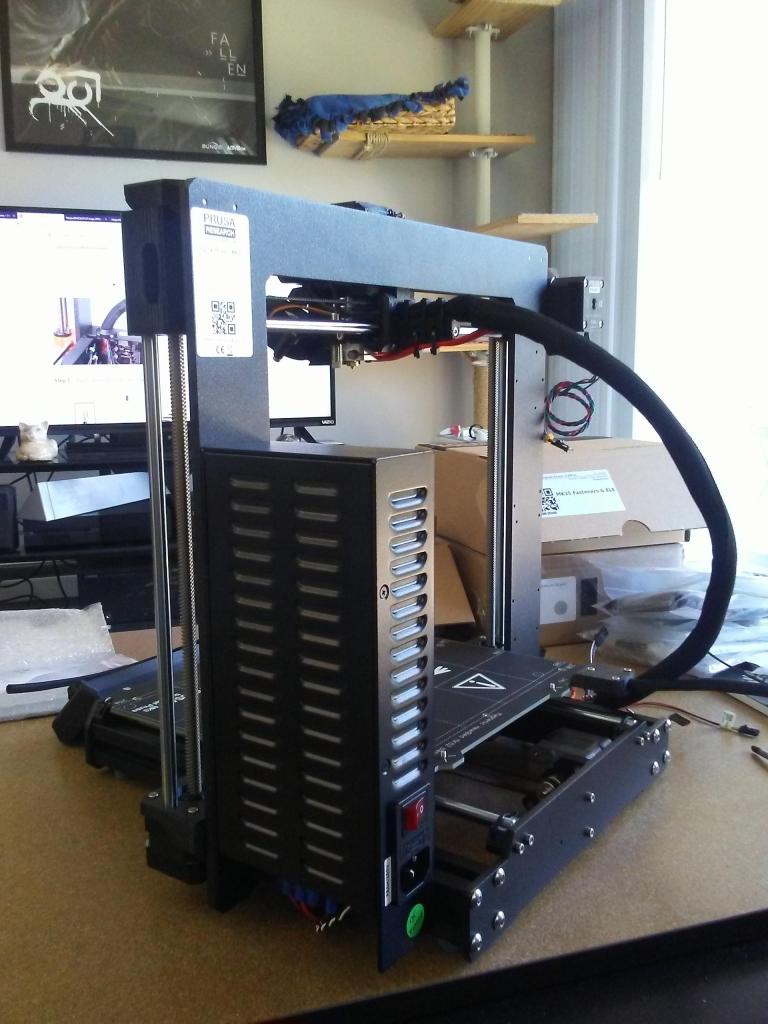
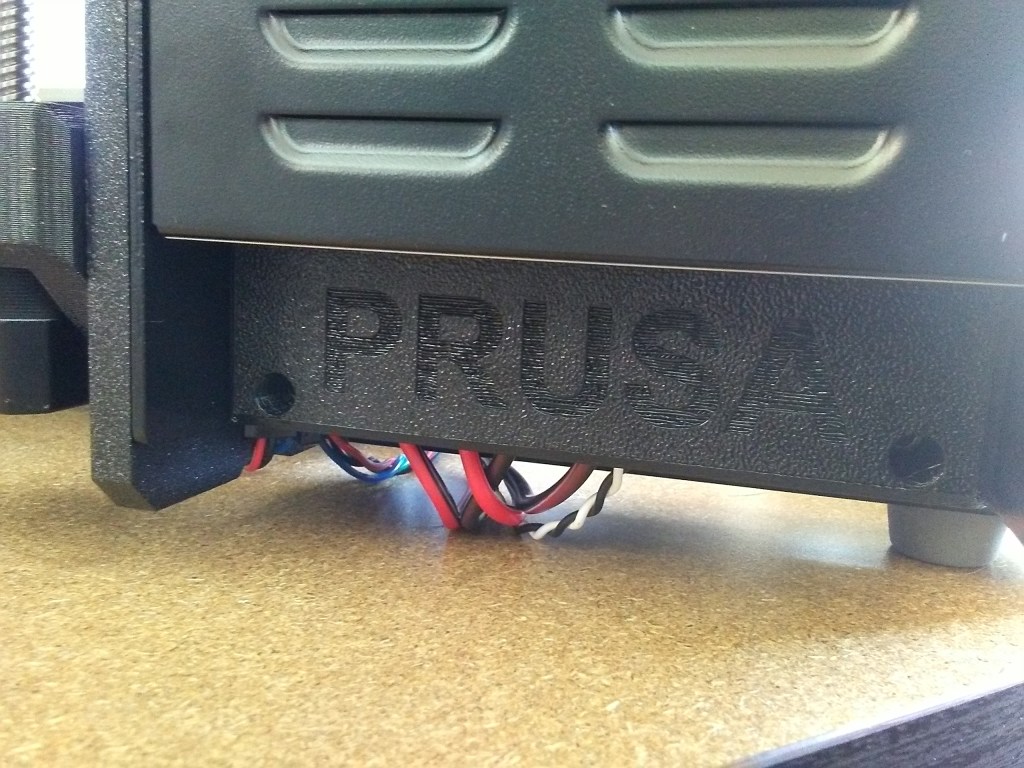
Pretty straight forward mounting of the power supply to the frame. With that sorted, onto the brains of the operation.
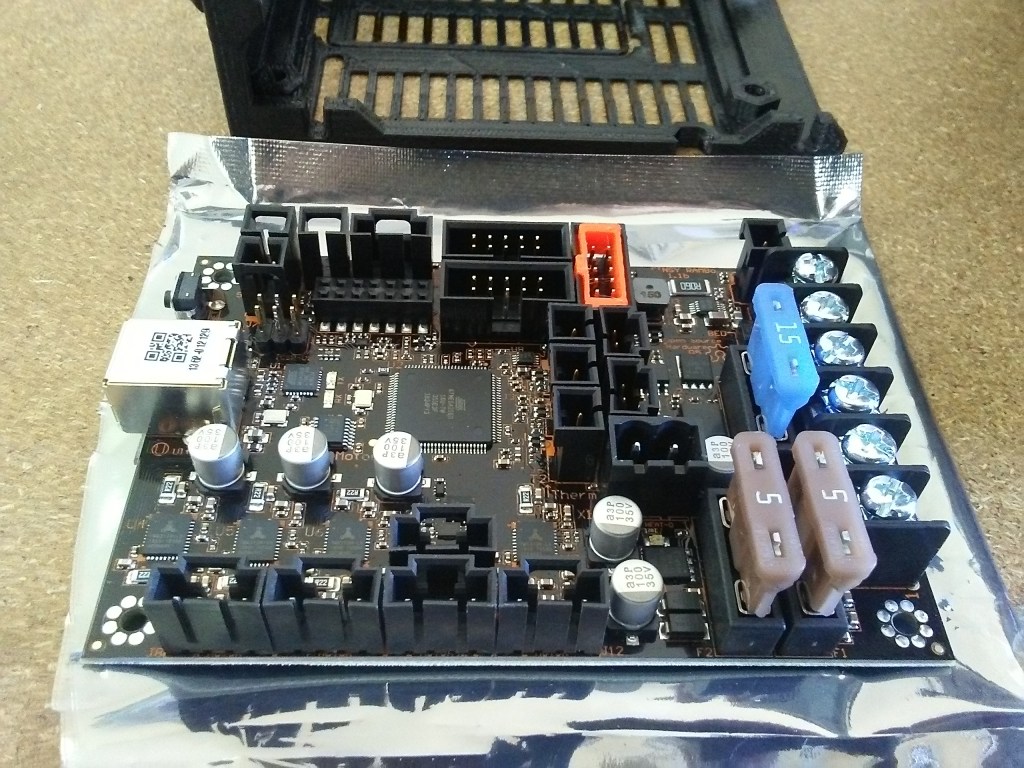

Again, rather simple installation. Now wire routing on on the other hand, that was rather interesting. Glad there were instructions, and the wires were already set up with the appropriate lengths. Though, something could be said for the mess of wires I left in the control box. Not all that pretty, but it works!
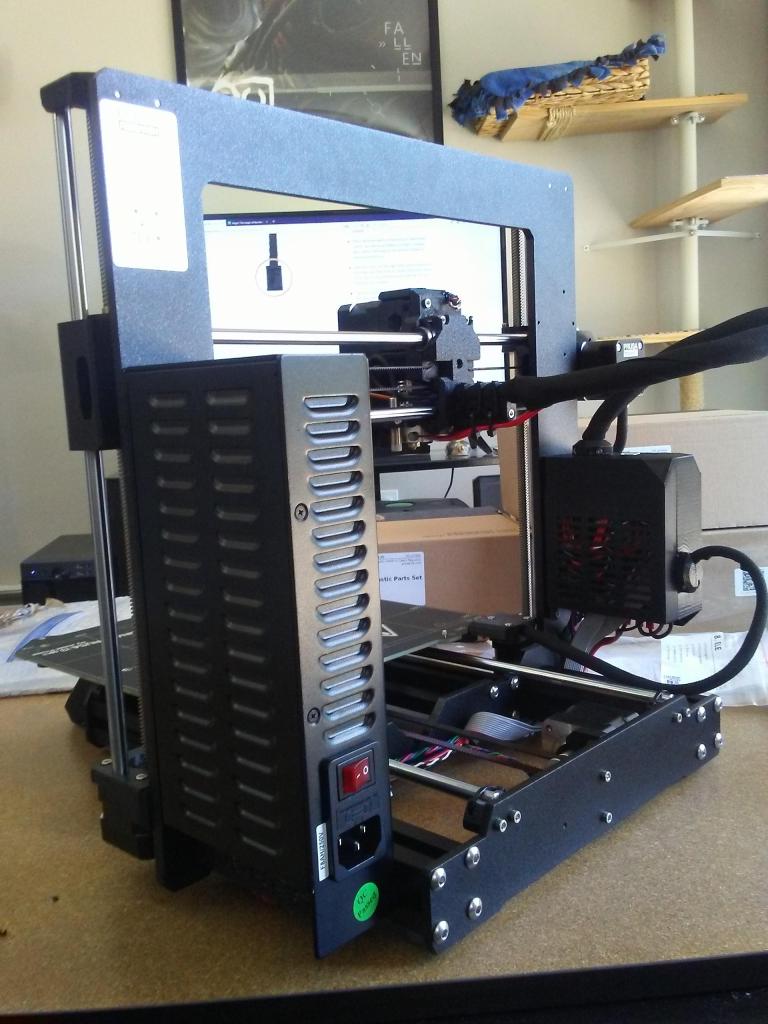
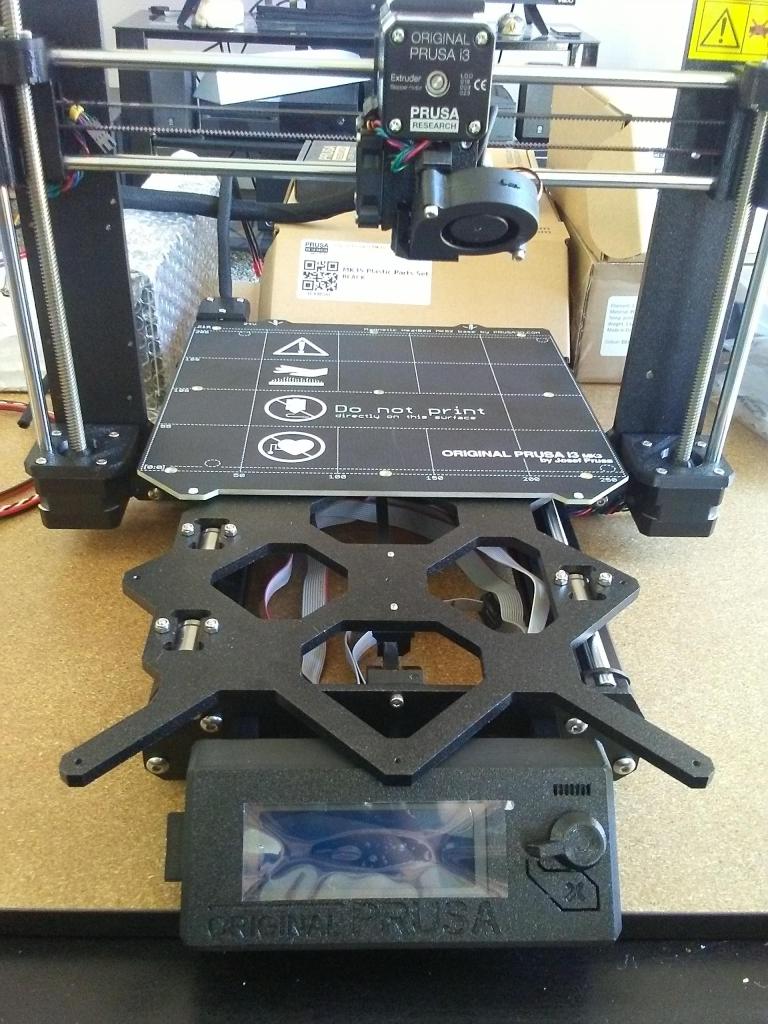
All wired up and ready to go. Now it’s time to plug it in, turn it on, and calibrate everything. Can’t just jump straight into printing yet.


And after calibration, time for a test print.
And with a successful test print, it was on to printing bigger and different things.
This was a fun and educational build, getting to put together the kit. I’d learned a lot with my Maker Select over the years, but building this taught me quite a bit more, which I was grateful for. Since I knew how it was built now, if anything ever broke, or needed maintenance, I knew how to take it apart and fix it. And between Prusa Support and their online forums, information and help was amazingly plentiful. Definitely money well spent on a solid upgrade to my hobby.
And after having the printer for a bit, I can still stay I’m quite happy with it, even looking into modding it a little (at least printing a larger control box with more space for the wires) and I have hardly touched my Maker Select since. Between the amazing dedication of the Prusa Research team to make this printer as good as it is, the extra features of the mesh bed leveling and magnetic hot bed, and the helpful community behind this printer, I think I’ll have fun printing with it for a long time to come.
