I’m learning that apparently it takes me forever and a day+ to finish things. Mostly the projects that I start on, not to even mention this blog post. After I finished the Part 2 post, I did actually start working on finishing the model, sanding, and painting it. And I want to preface this post by saying, I did actually finish the model in a reasonable amount of time, despite some of the challenges posed. What I did not finish however, was this post. I decided not to take photos throughout all of the painting process and decided to jump straight to the part when I assemble and ramble on about the journey. But after I finished and was happy with the replica, my motivation for finishing the blog post basically petered out. So, it took me far longer to finish this post than intended. But, here we are. Let’s get into it.
As with most 3D prints, finishing consisted of about what you would expect, lots and lots of sanding and filler-primer. Normally I use spray paint for the colors on things, this time however, I used an airbrush with acrylic paint. This was the second time I’d attempted to use my airbrush that I’d gotten a while back. So painting this using acrylics was a bit of an experiment, and took a few tries to get some of the colors correct and to learn how to properly thin the paint so I didn’t clog the airbrush. For all the frustration during painting, I am happy with how the color turned out. That said, I’m still not sure I got some of the colors correct, it’s just really hard to tell with the in-game lighting and the way the texture of the model is, but close enough.

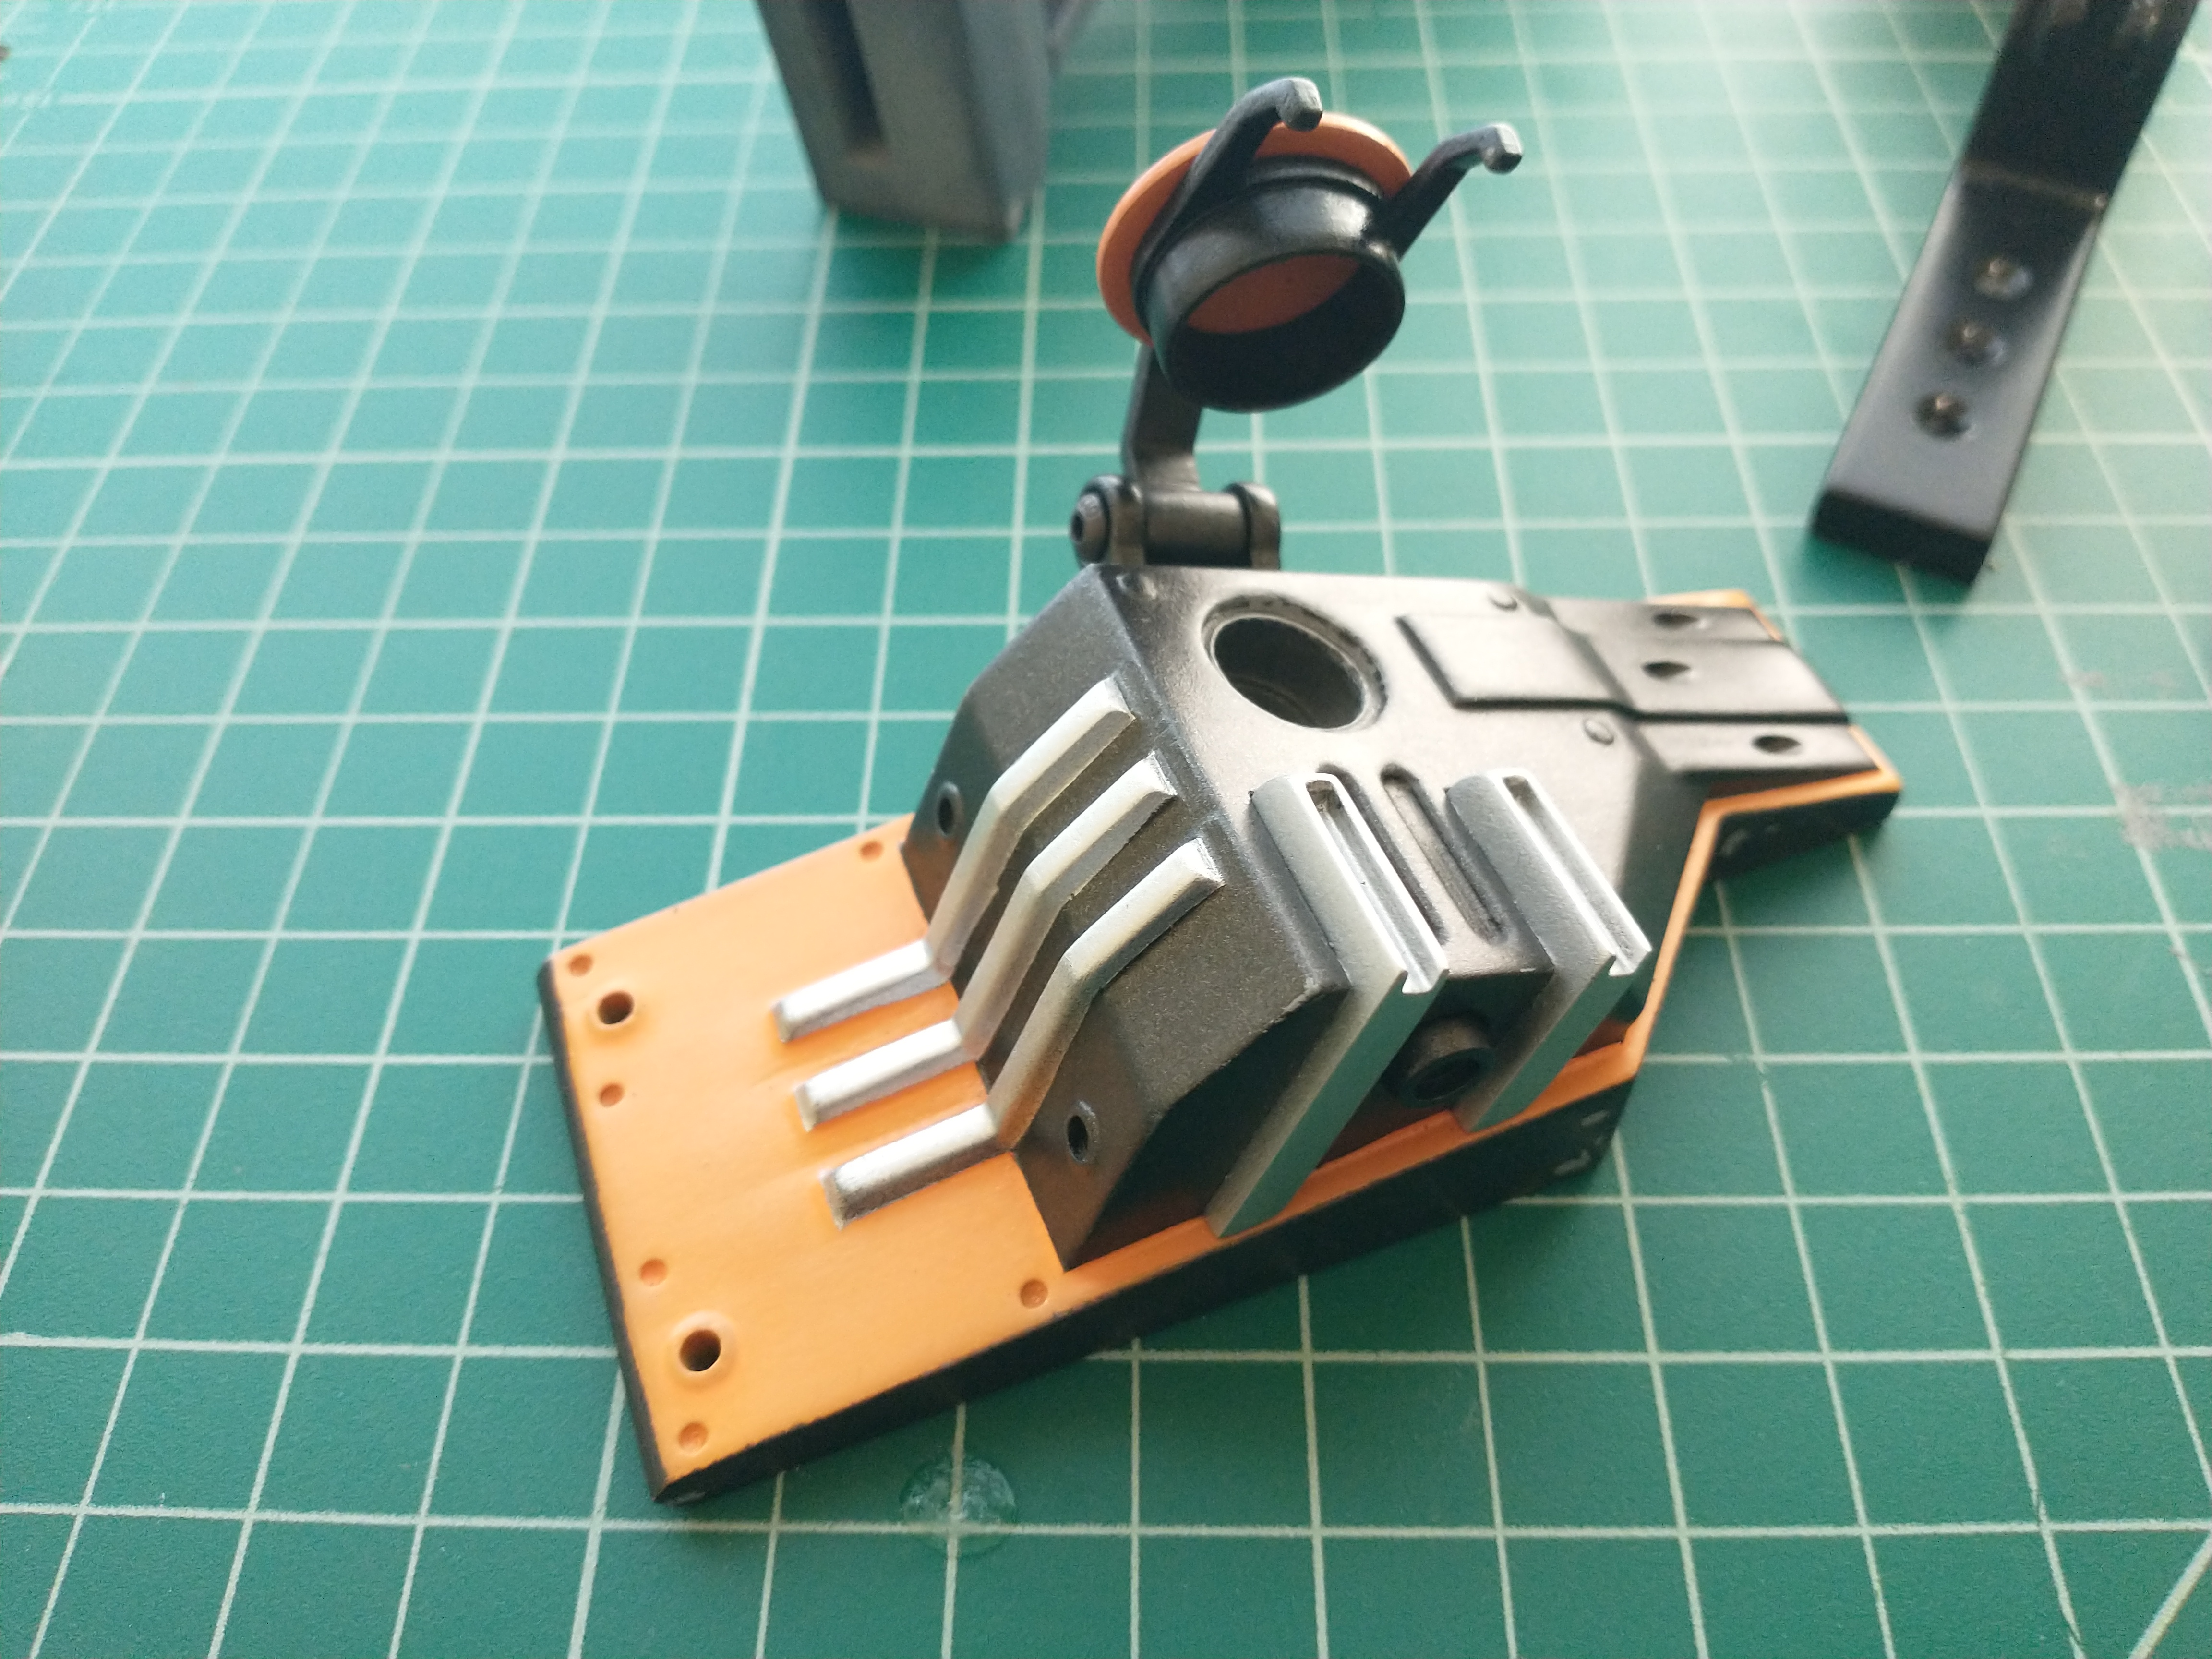
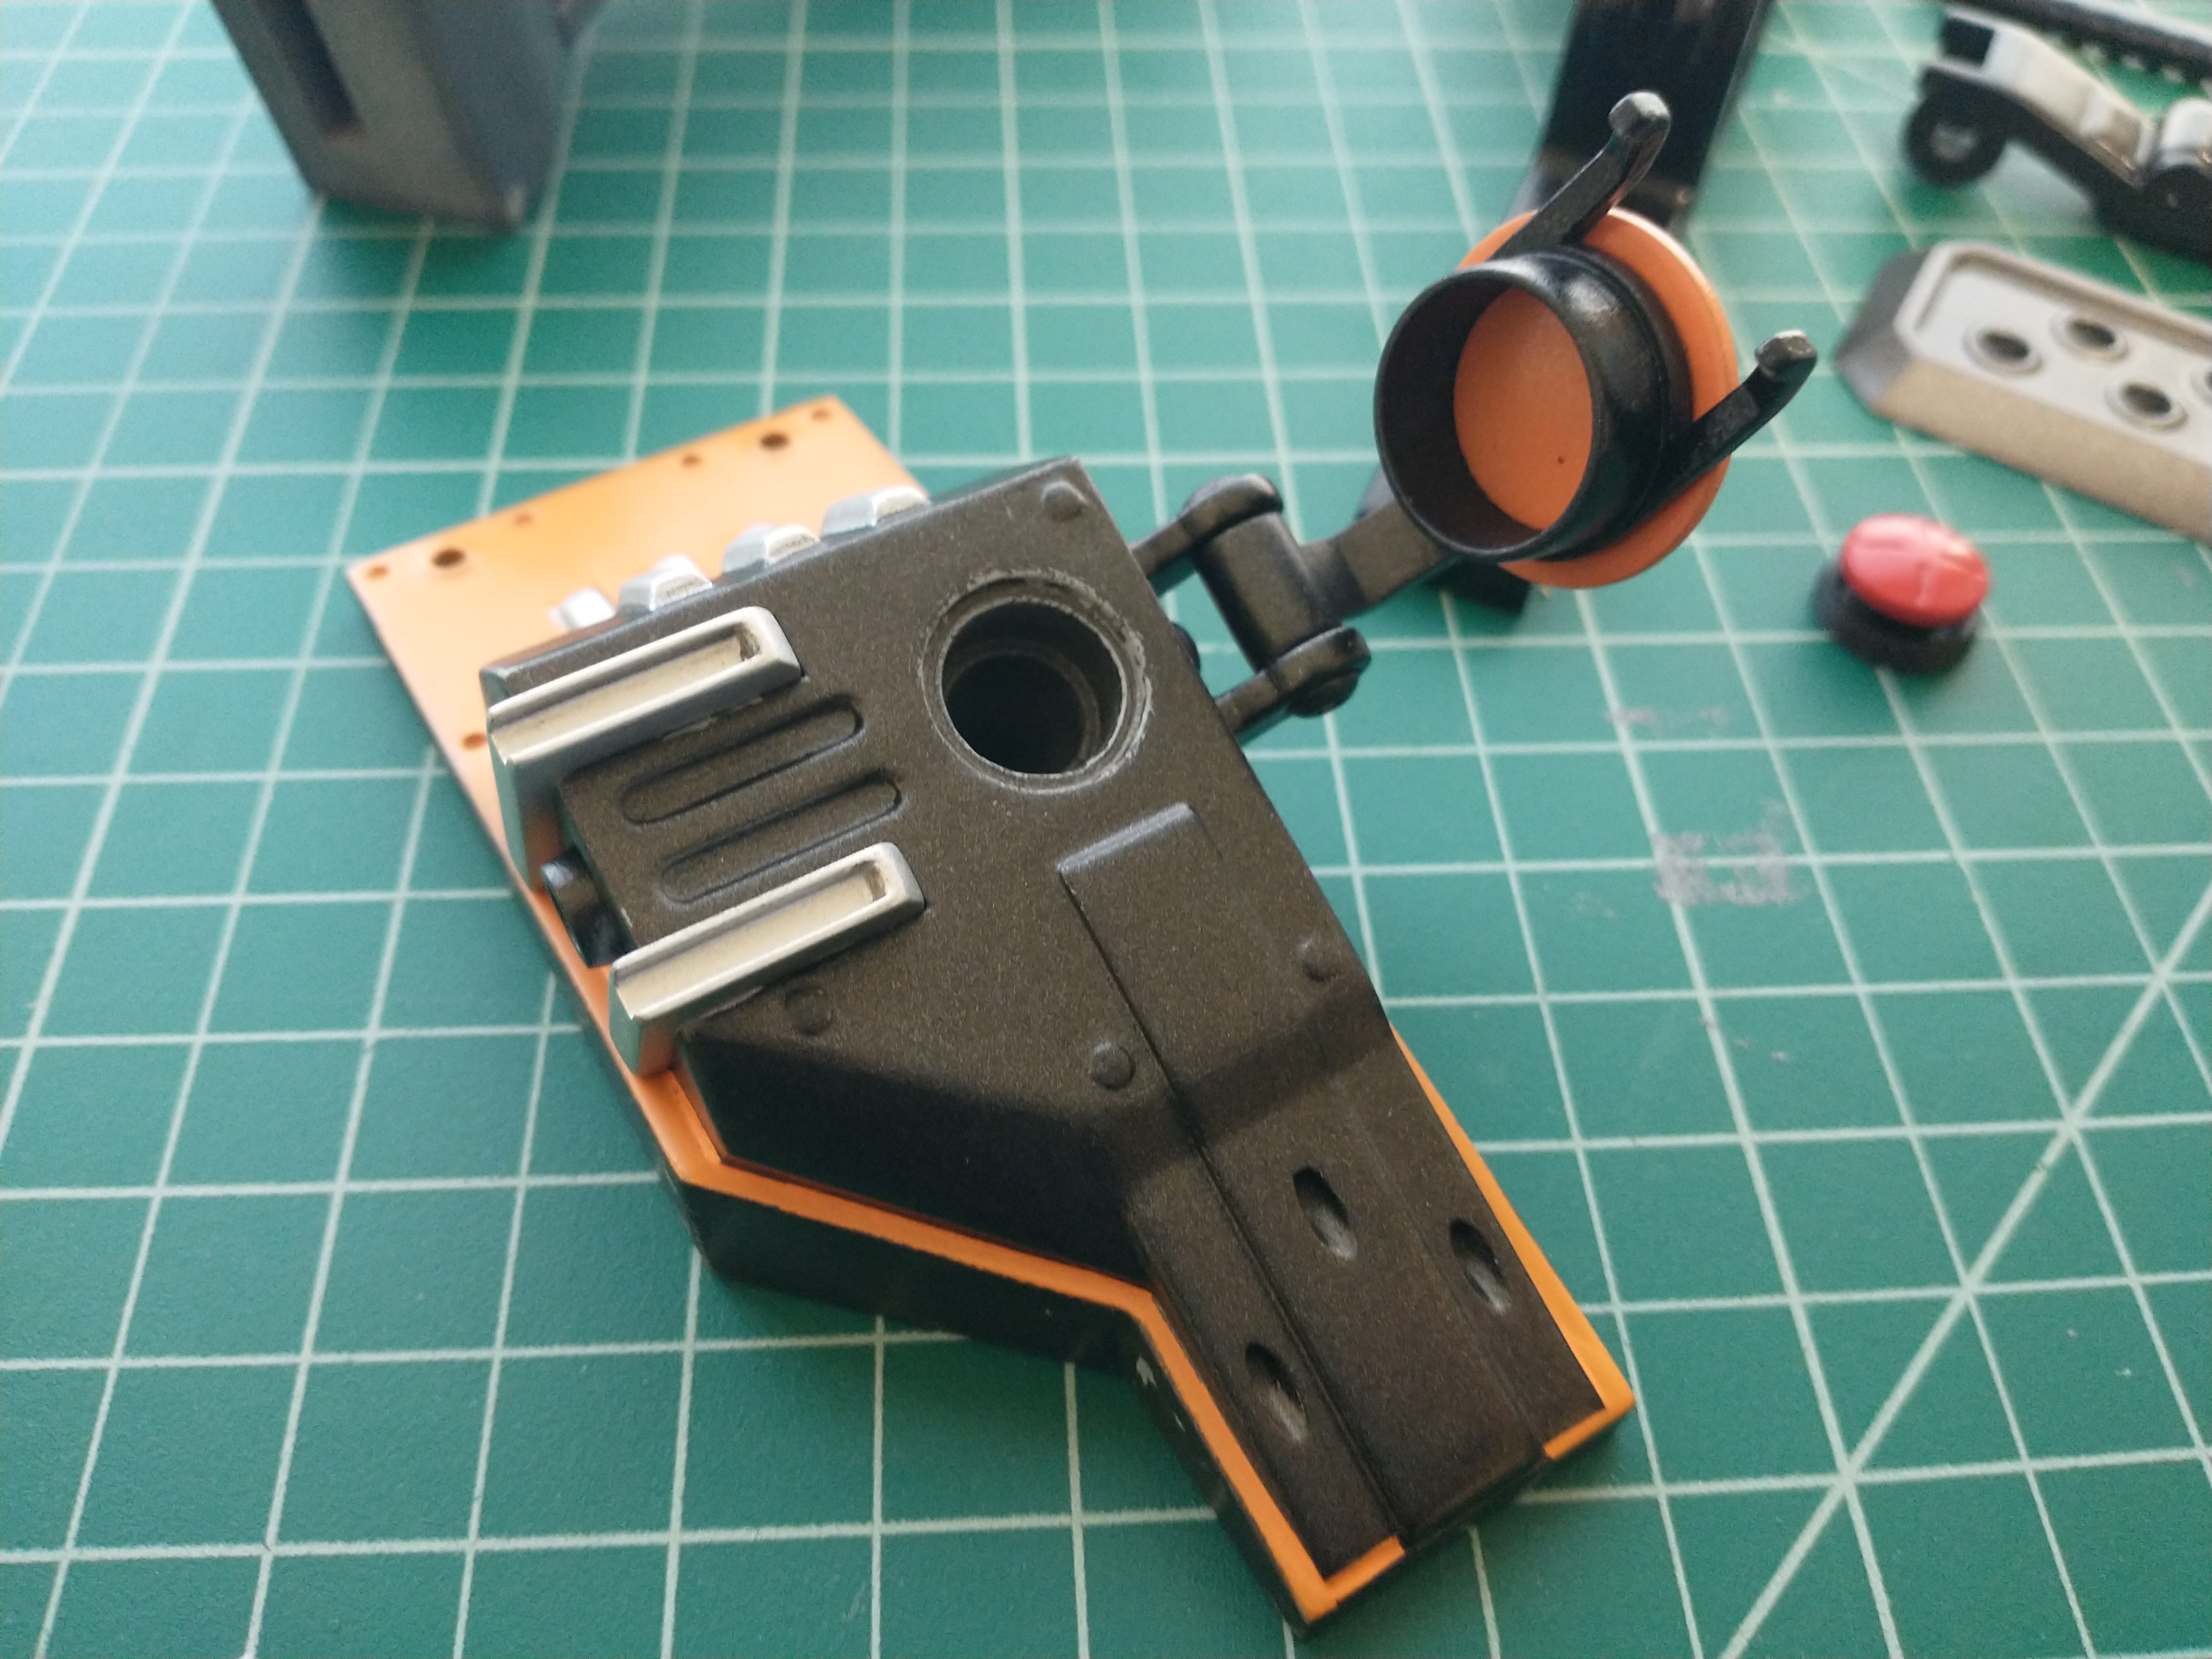
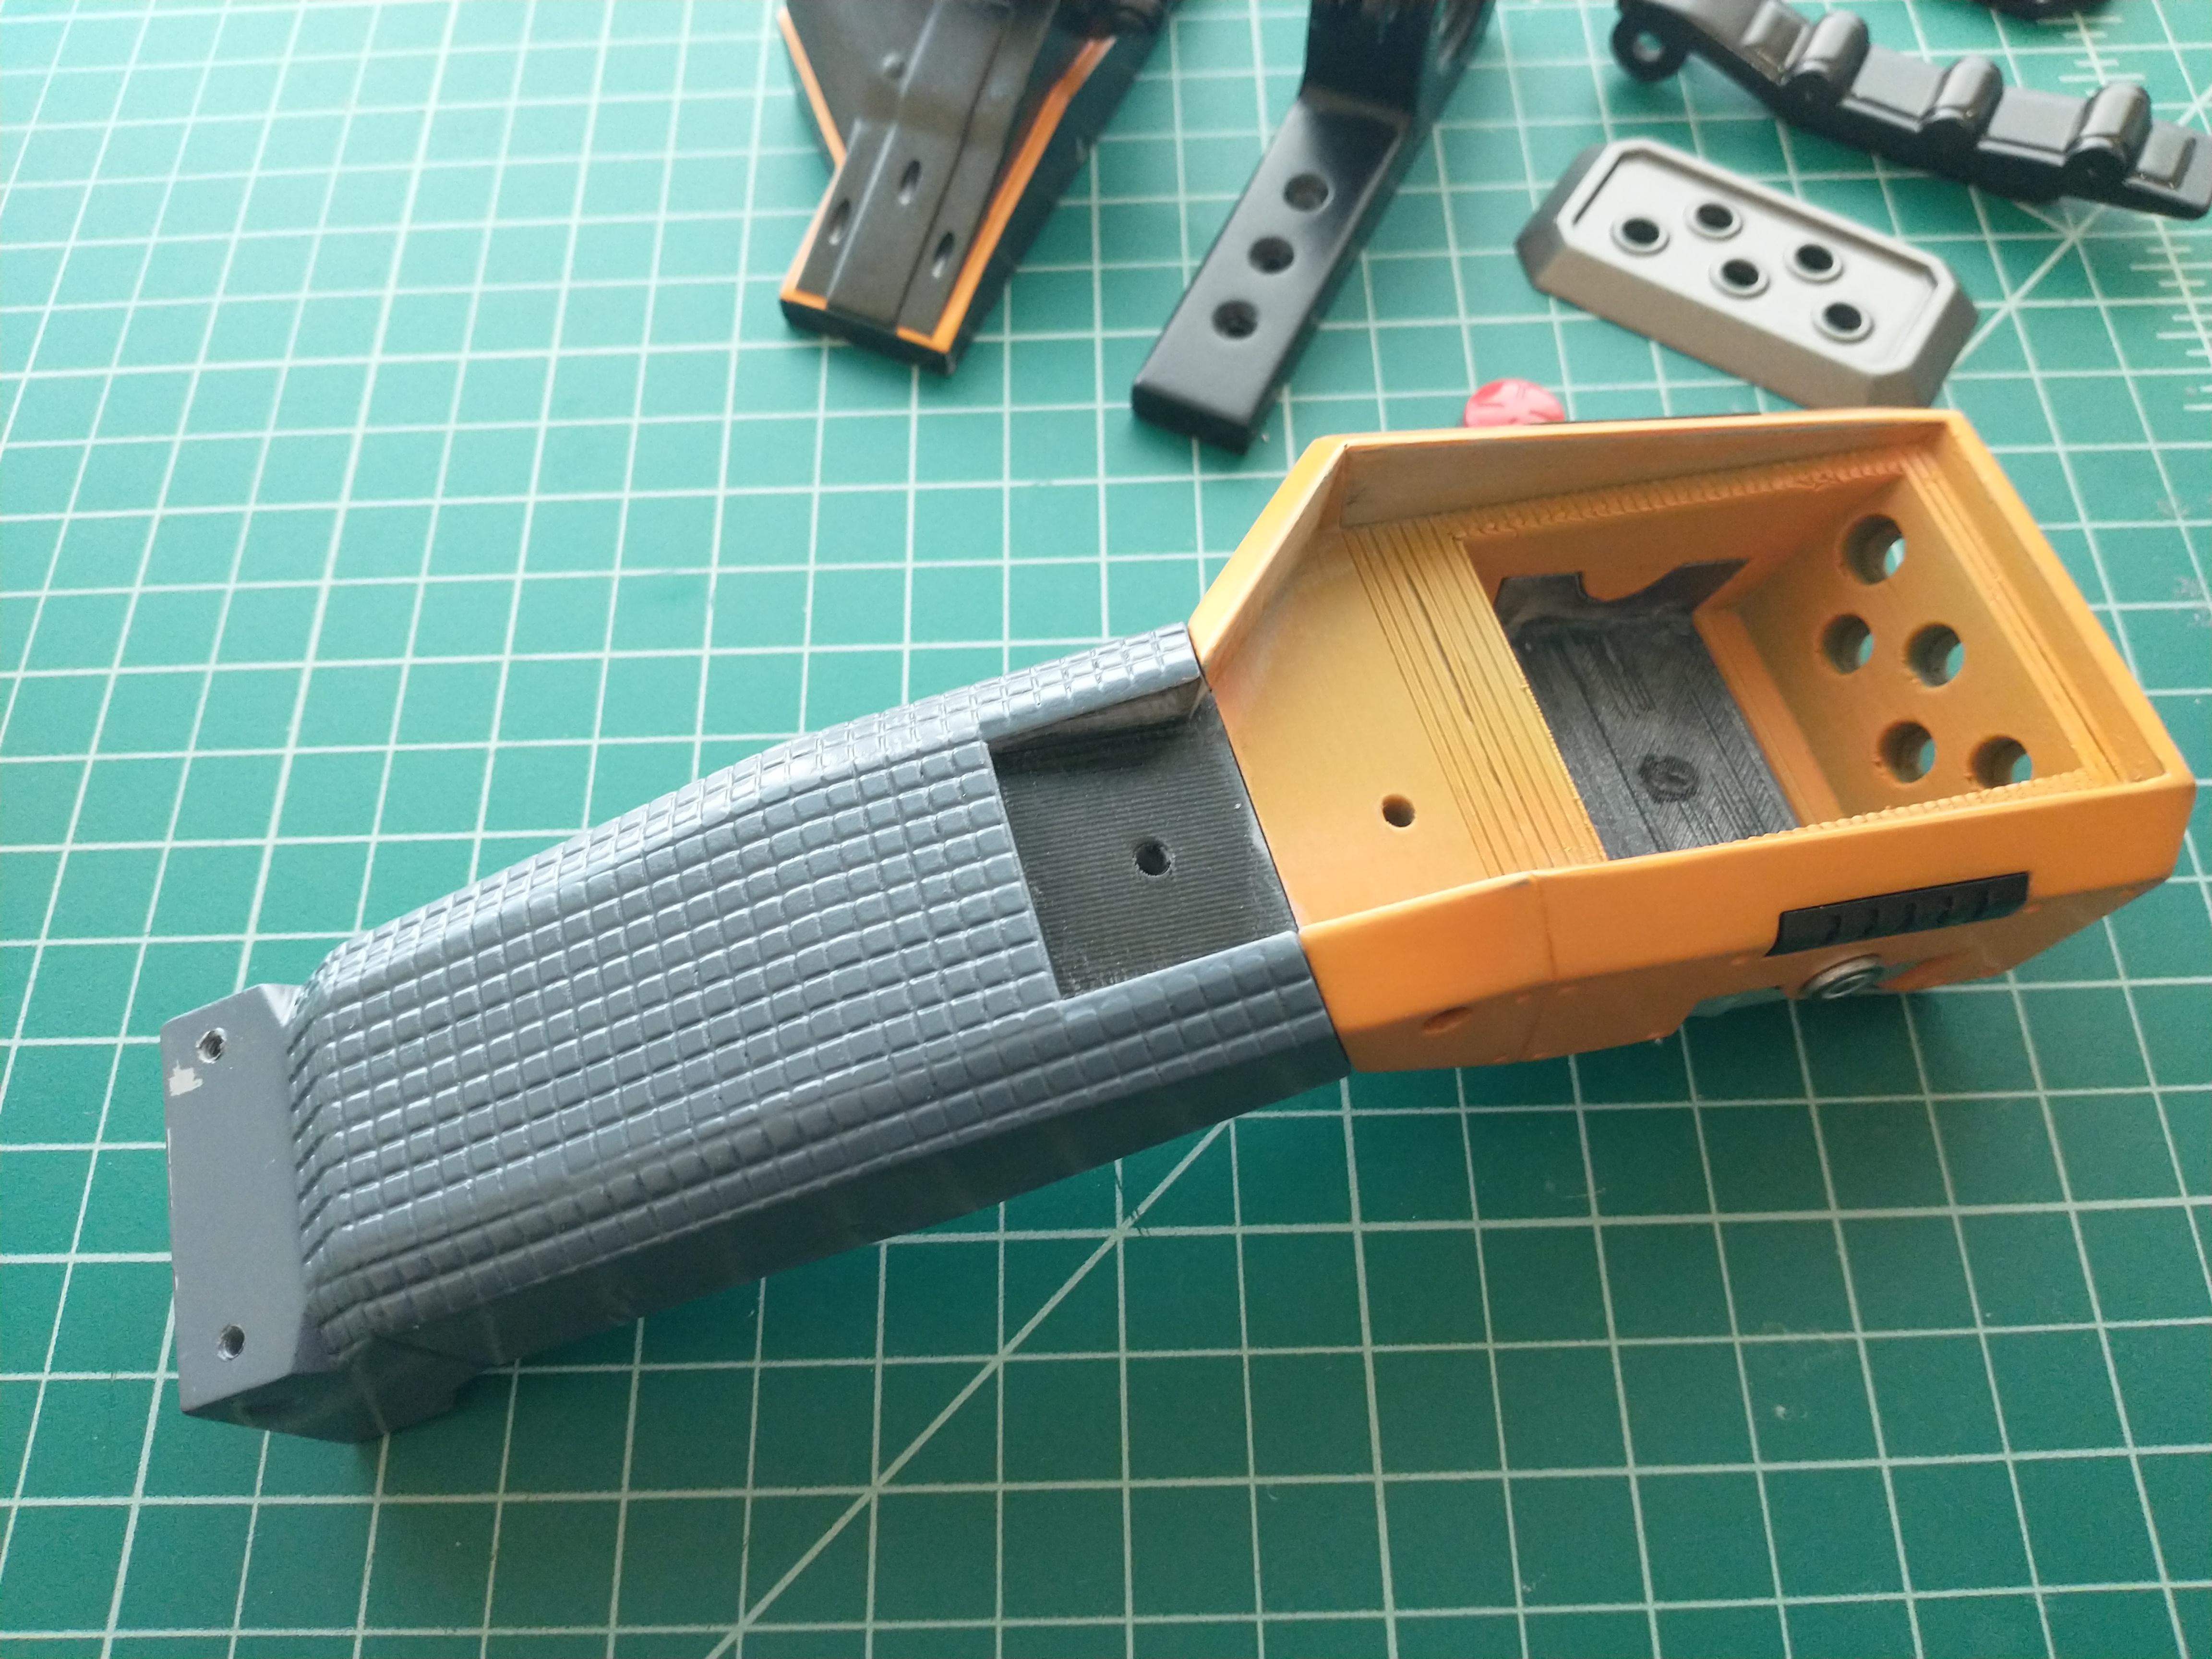
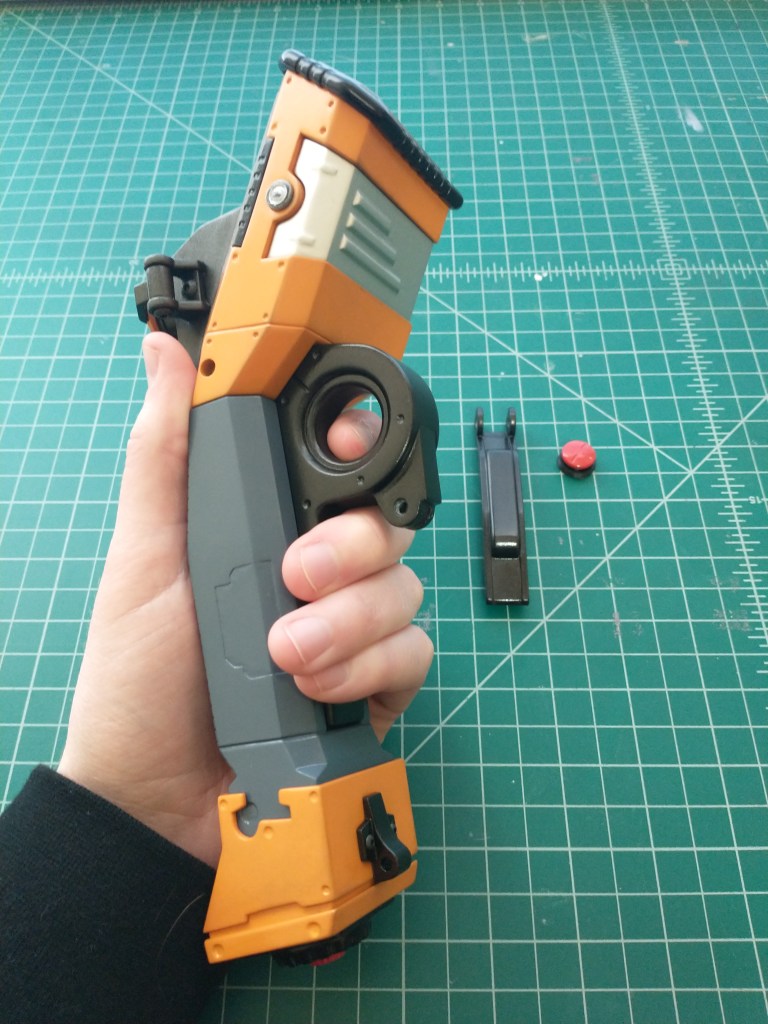
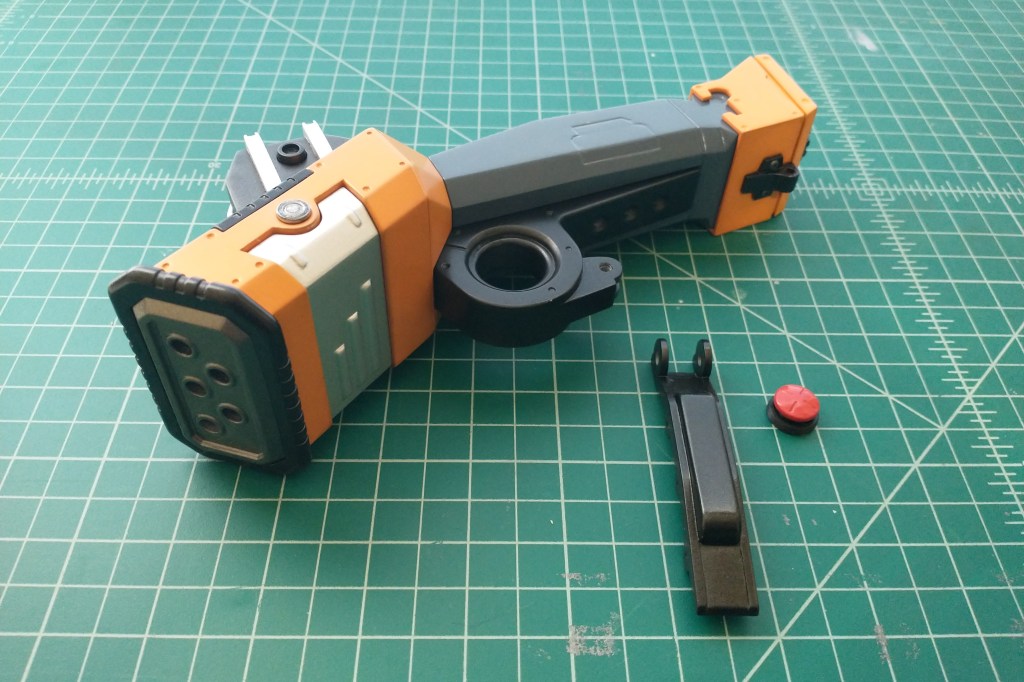
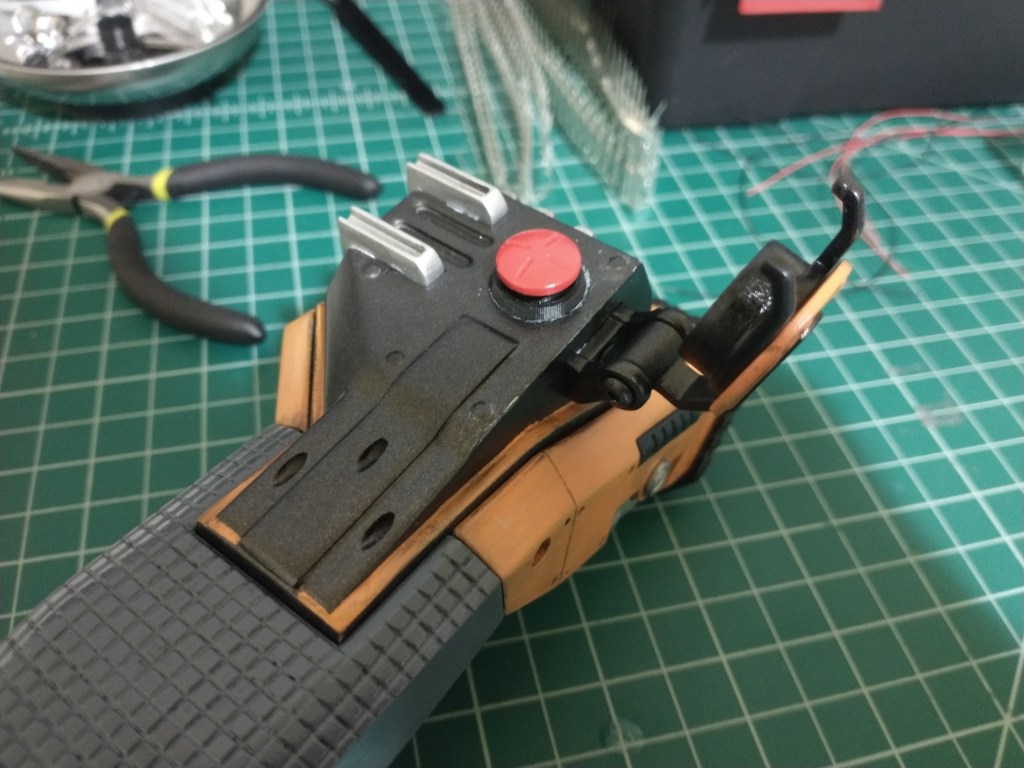
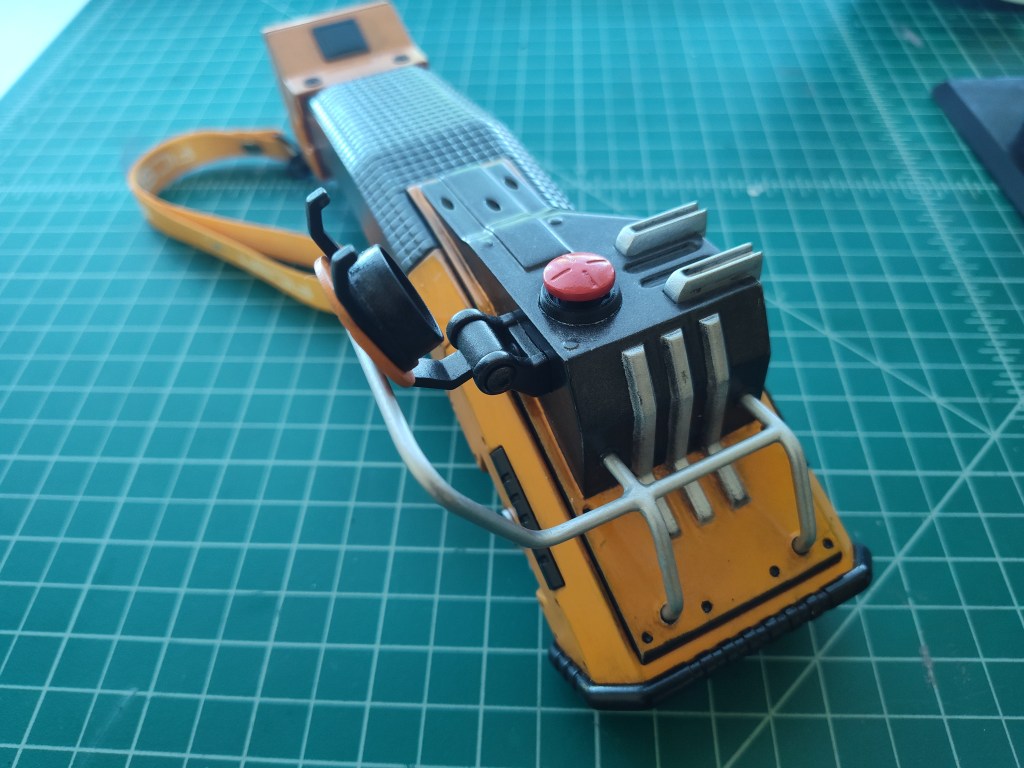
All the parts to assemble. Painting the top plate was interesting, lots of masking tape. Not sure if I like how it turned out, and I keep wondering if there was a better way to break up the model so I could paint things independently. The model for the button cap was split fairly well, making it easy enough to paint, though assembling and gluing it so that it was straight, was a bit challenging. I also found that once painted and assembled, I had to do some manual modifications to make it close properly. I had designed the model so that it fit properly and closed correctly right off the 3D printer as a raw print, but I’d forgotten to take into account how sanding and painting would change the dimensions and tolerances of the model. The addition of the paint added some thickness to the hinge and changed its positioning, making it so the cap didn’t want to close all the way. After pondering how to solve the issue, I found the best solution was to enlarge the inner diameter of the hinge so that there was plenty of clearance for it to have enough wiggle-room to shift on the screws and sit flat when closed.

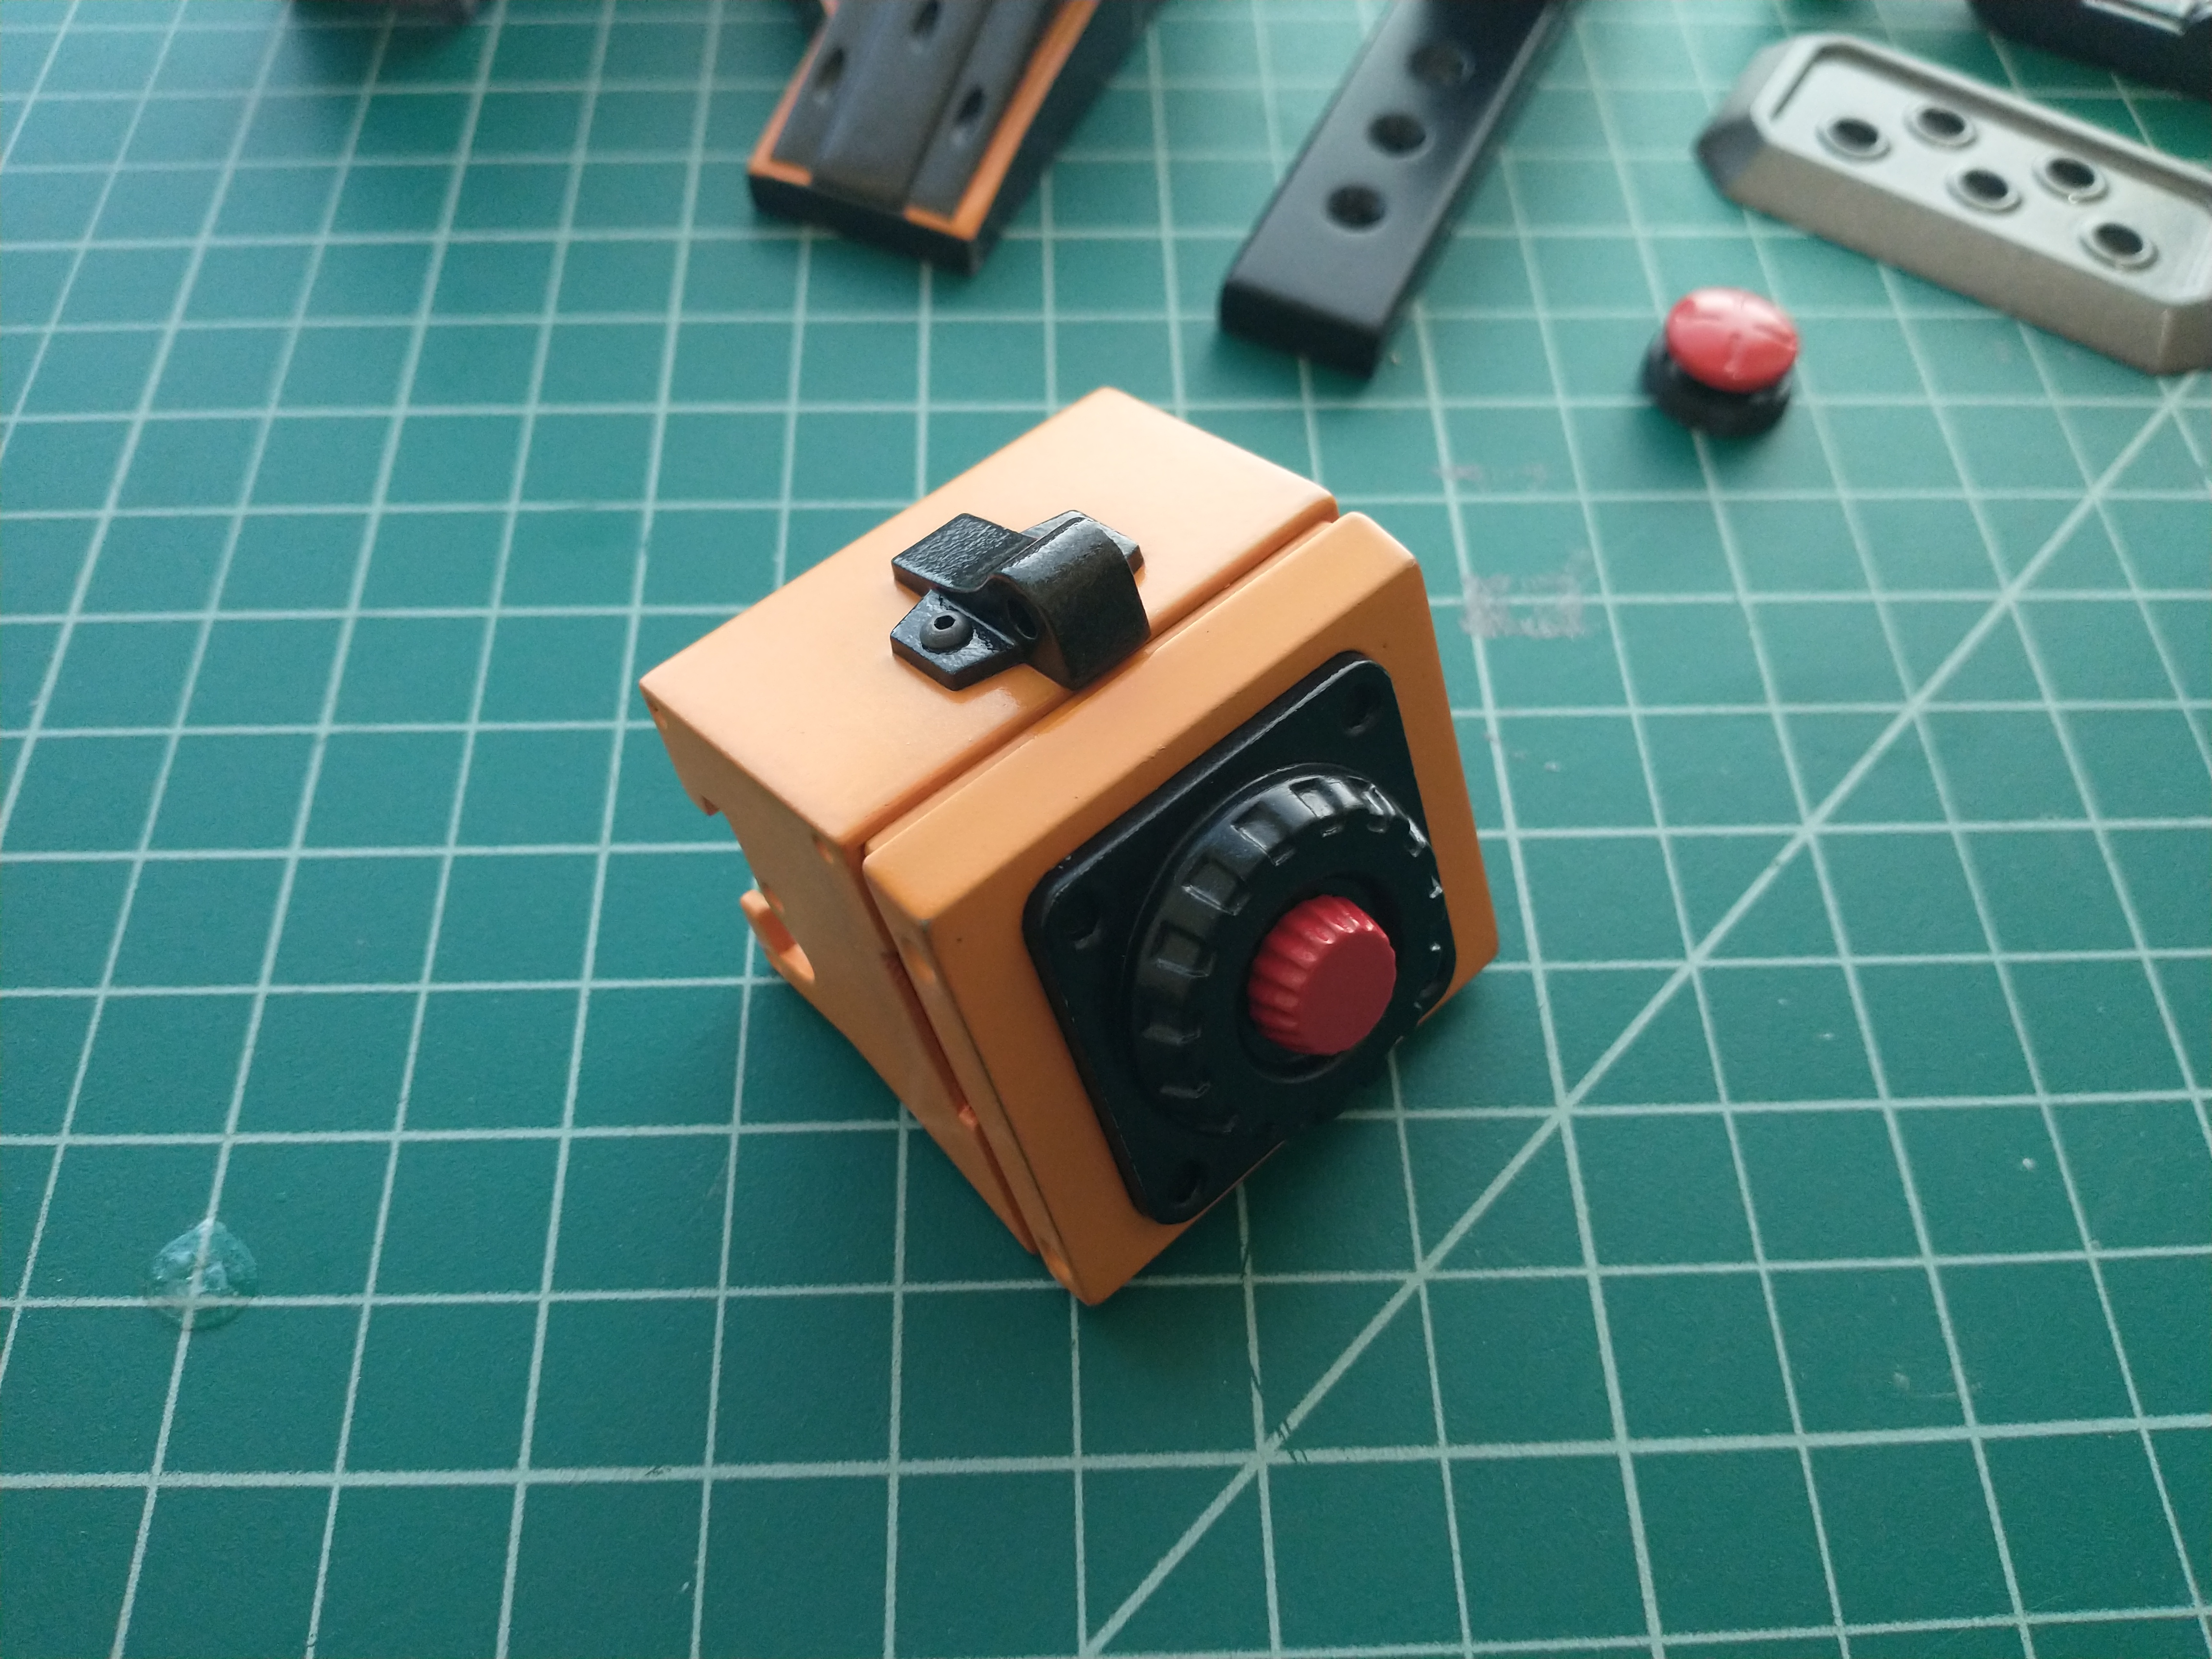
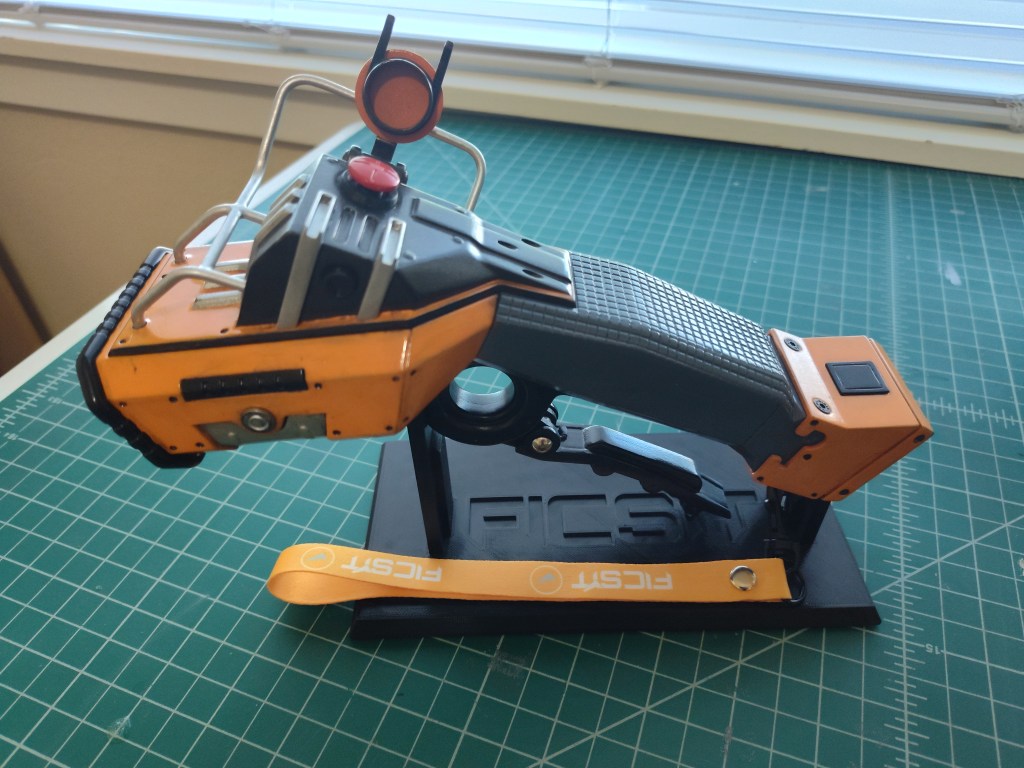
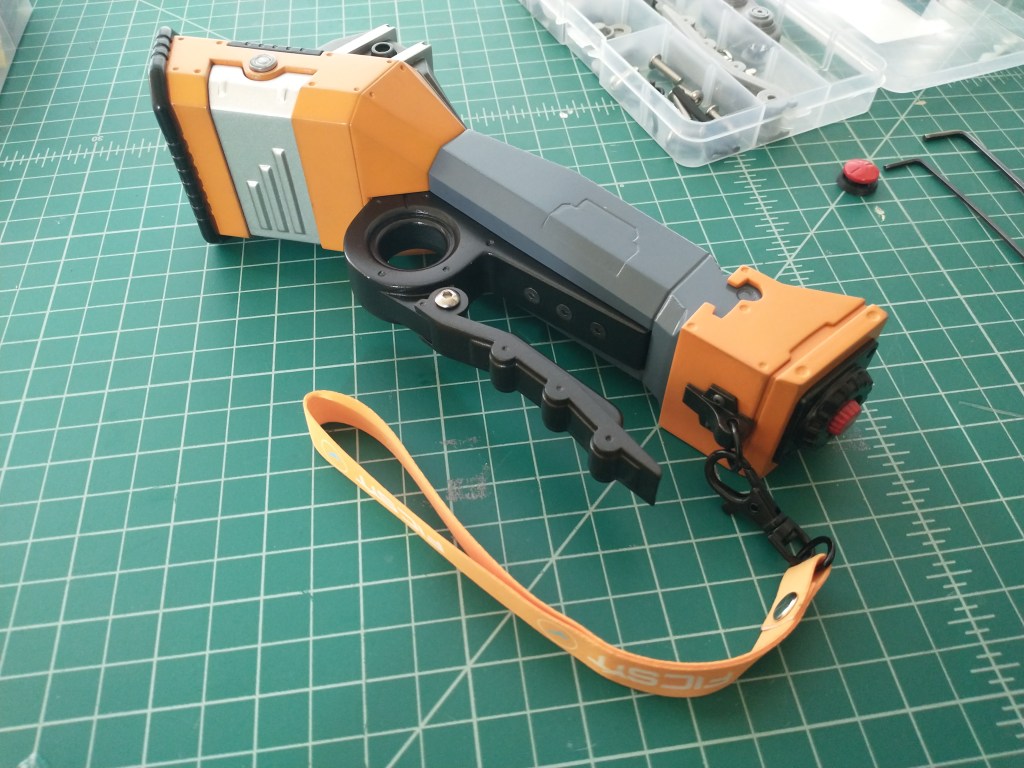
With the top plate, button cap assembled and mounted to the handle it was starting to look more like the in-game model. And with the base on it, it was looking even more like it was supposed to.
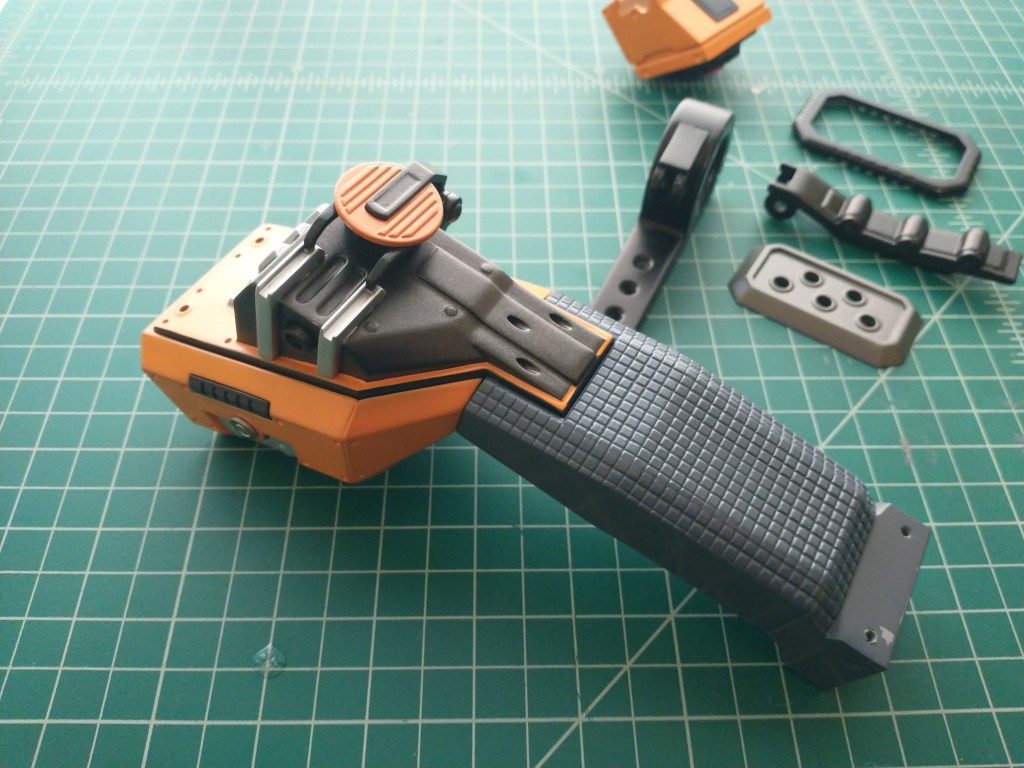
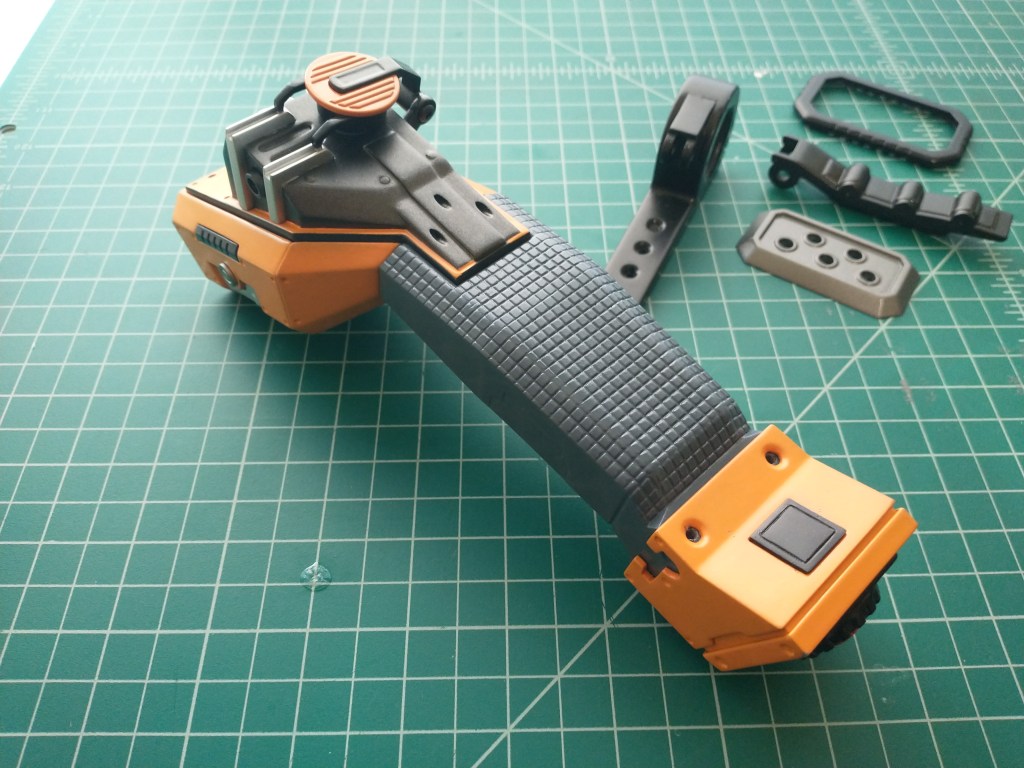
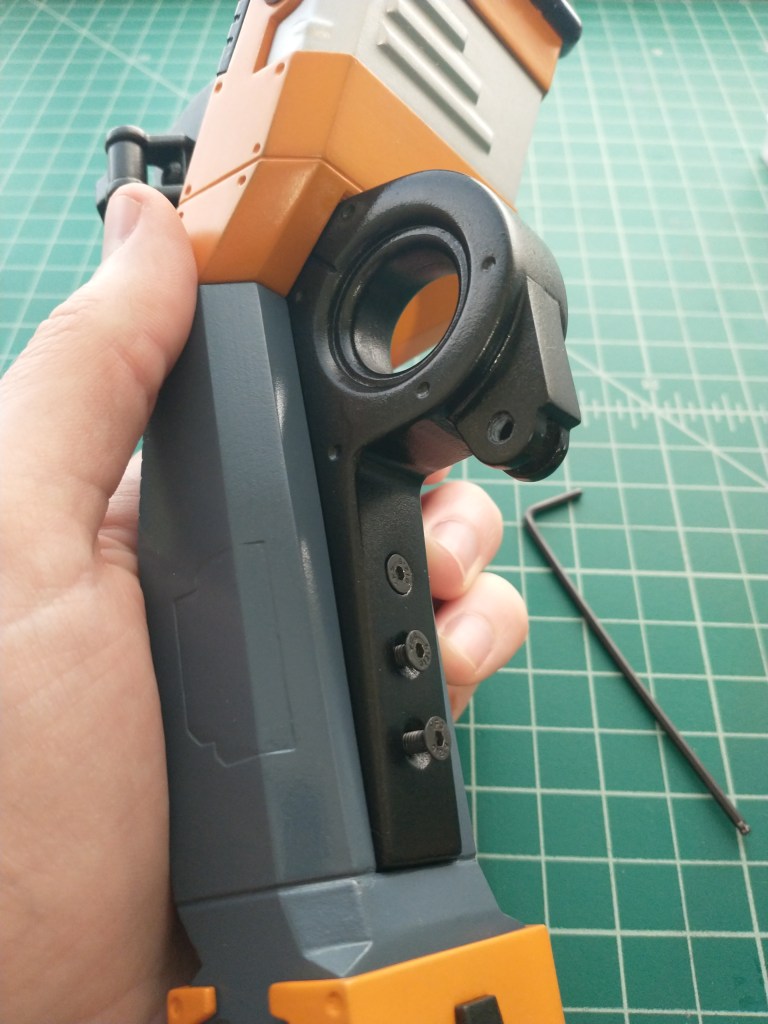
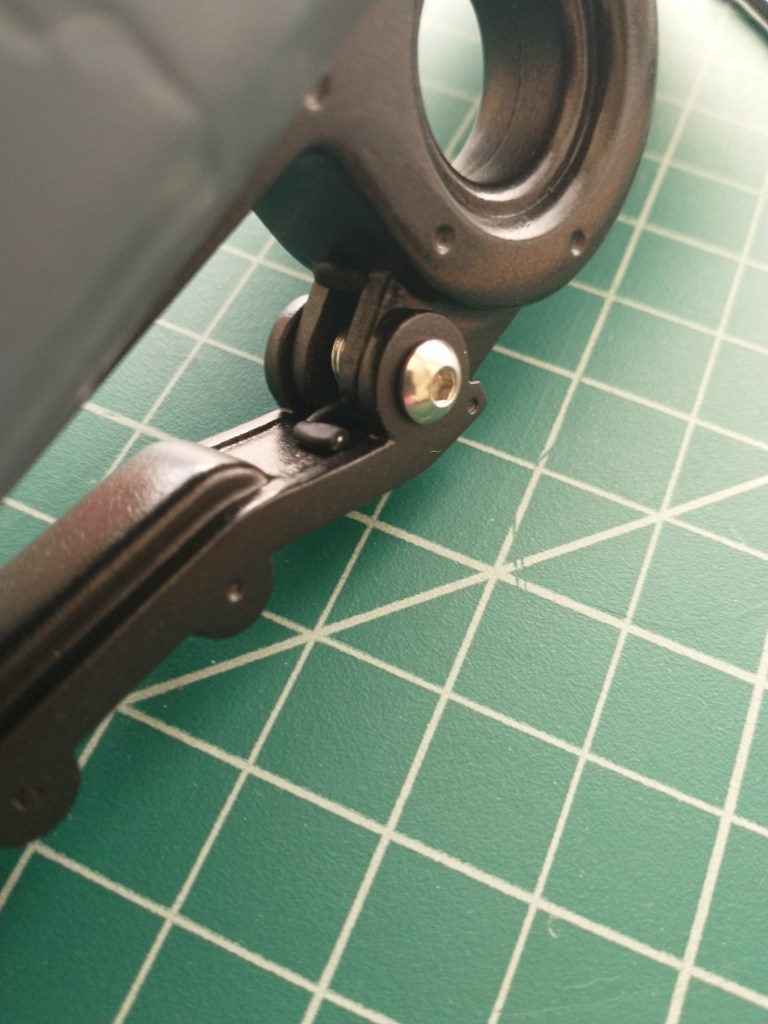
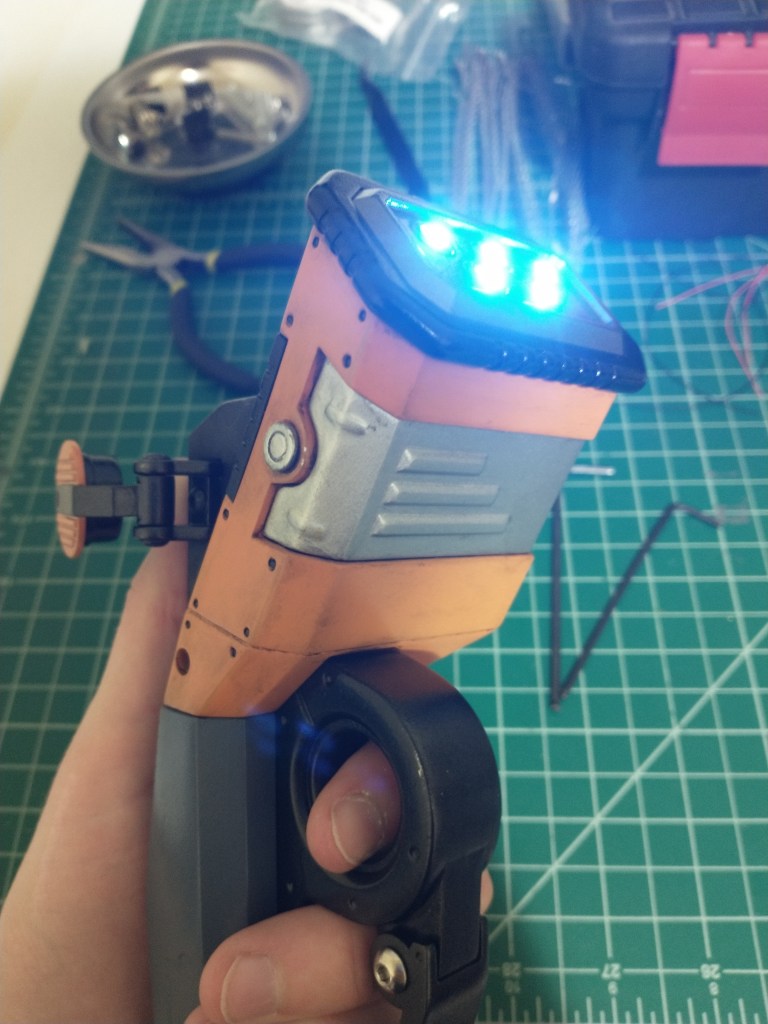
Assembling the finger grip on the handle; 3 screws may have been excessive, but it looks good and hides the two screws underneath that hold the head and the handle together (cause I like to be able to take things apart). I’d worked hard to get the sizing just right to be able to hold it similar to your character in-game, and I like to think I did well, even if the hole for your fore-finger ended up being a little larger proportionally than it was on the actual model. Unfortunately my fingers can’t clip through things like the game character model’s can.


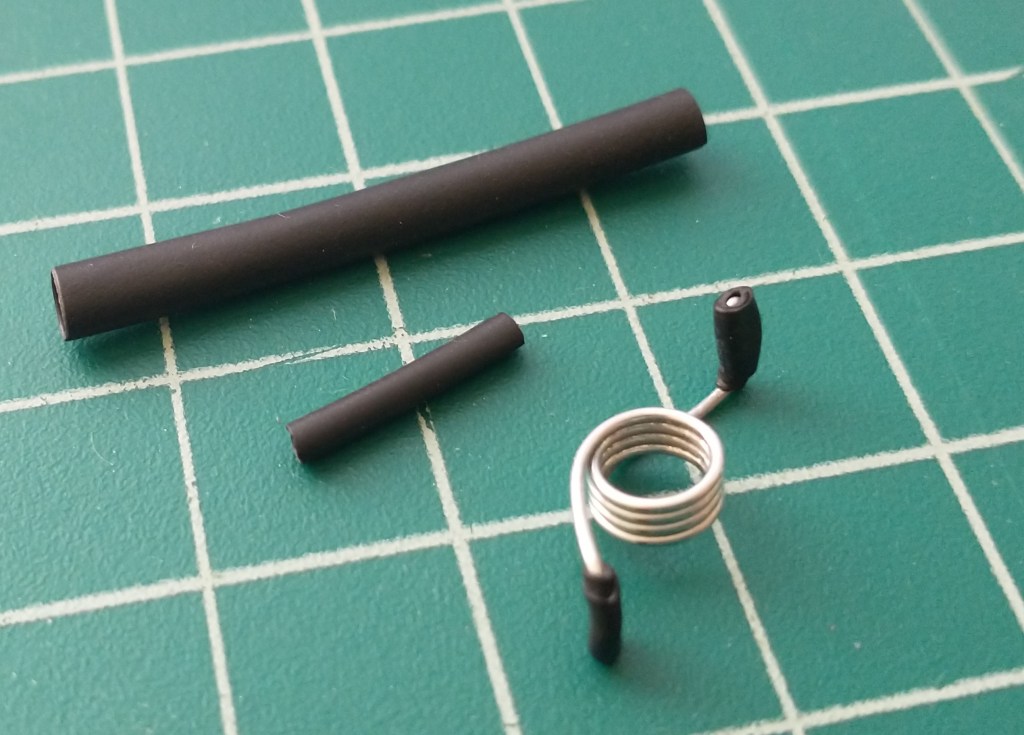
Next, the assembly of the trigger with the spring. I decided last minute to cover the ends of the torsion spring with heat shrink tubing to hopefully protect the paint from the metal spring. I was worried I’d end up with scratches from the spring’s movement. Two layers of black heat shrink worked well and helped to hide the spring better too.
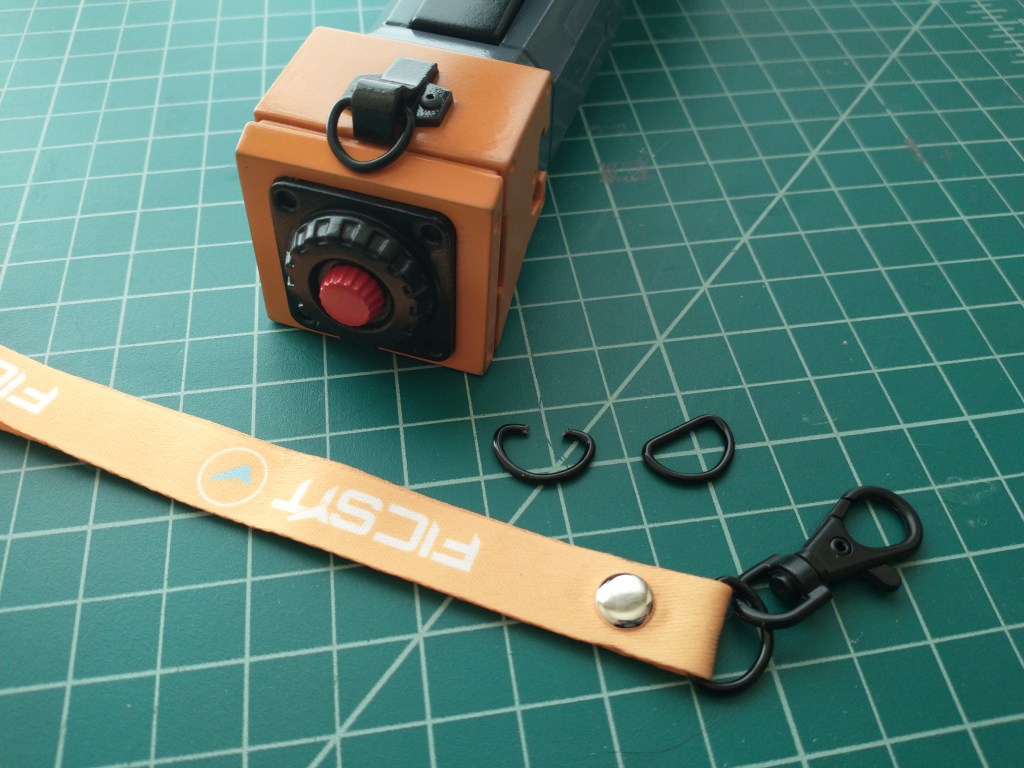
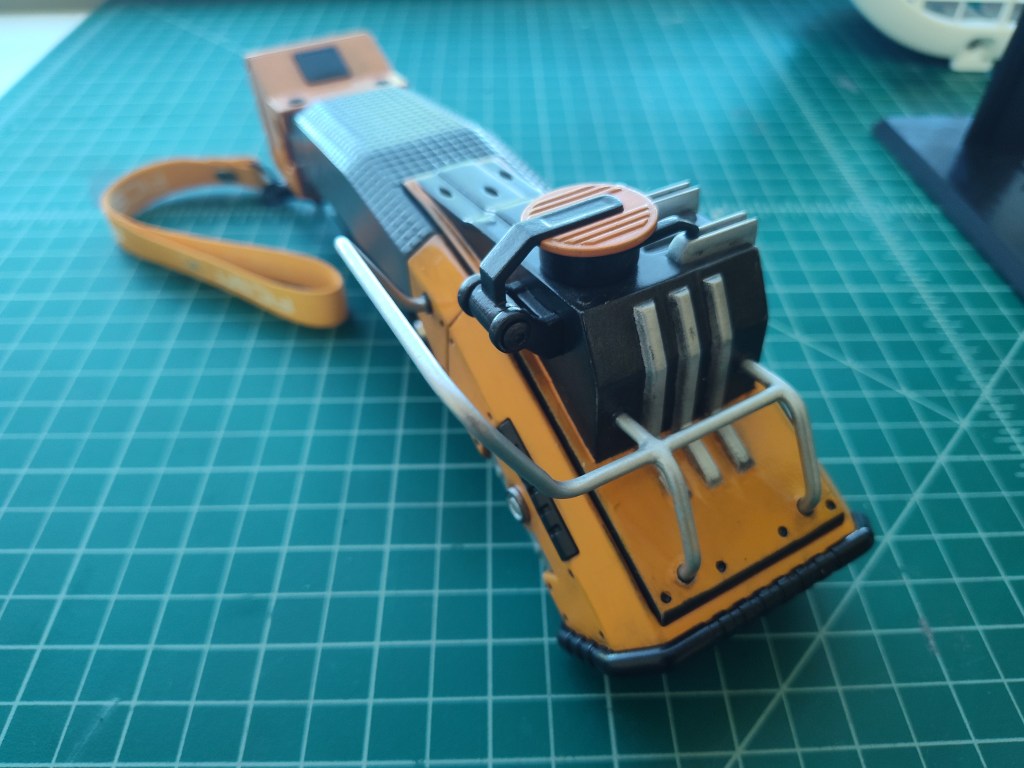
After that it was time to attach the D ring and lanyard. And speaking of the lanyard, when I was finishing up this model, I saw that Heroic Replicas LTD was selling a lanyard set. Which was absolutely perfect, and the moment I saw they had it, I knew I had to have it, if not for this replica project, then just to have it. I’d already bought a couple of their other key-chains and other Satisfactory merch, so this was a no-brainer. Previously I’d been wracking my brain about how to make or get a small lanyard similar to the one in-game on the build tool. So this was absolutely perfect timing and I could not be happier they decided to make a that lanyard set!
That said though, I still had to buy the D-ring myself, and turns out you really only can buy those in packs of 100. So… uh… anyone need some lanyard D-rings? I may have a few extra. Which was honestly good that I had some extra since I was able to experiment with how I was going to attach the D-ring to the model. I had to deform the ring to get it open enough to slip onto the model, but that left it dangling and sliding around weirdly. Eventually I ended up cutting out the some of the inside part of the D-ring at the flat side to make enough room to slip it on the model and then was able to squish the sides together with a pair of pliers. It resulted in a more triangular D-ring, but it fit better.
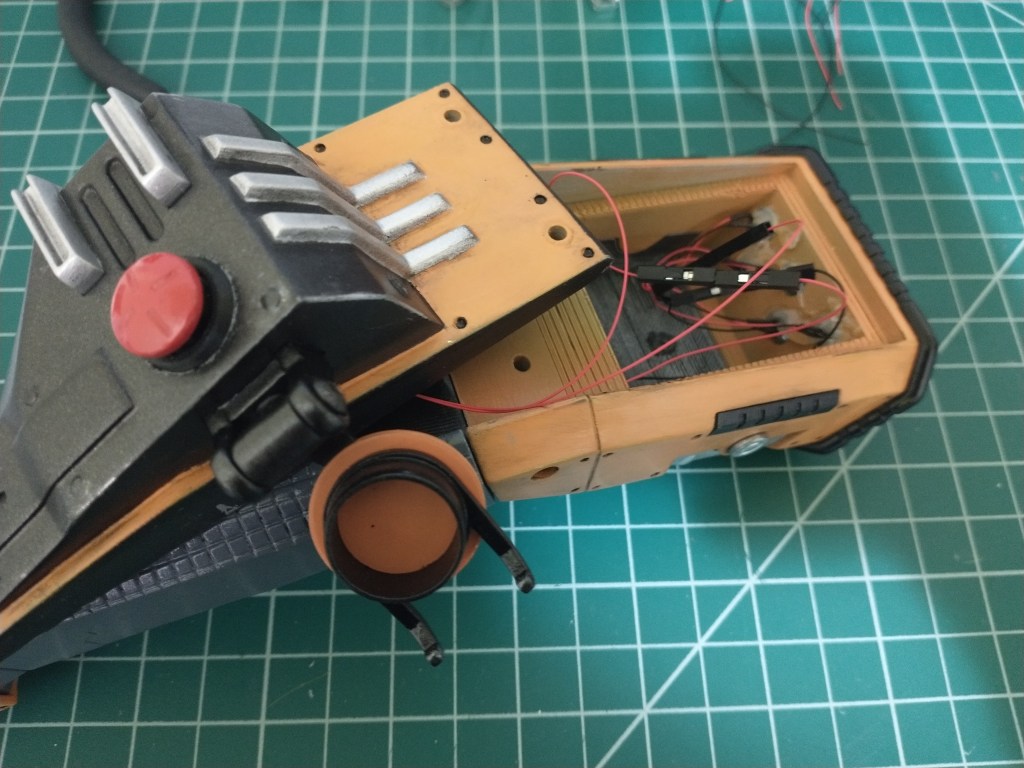
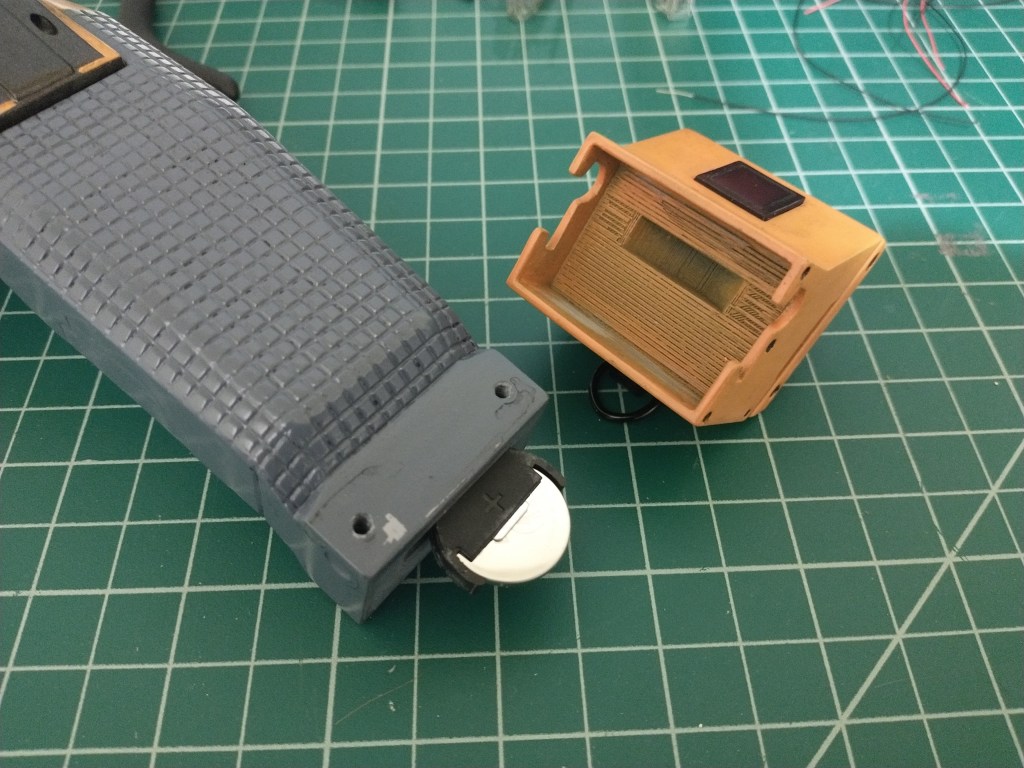
Installing electronics! Granted it’s just LEDs hooked up to a small coin cell battery, but it still feels good to see your project light up. I added a small plug to hook the battery and lights together along with the switch, but realized after the fact that was mostly pointless since the plugs were too large for the holes that all the wires were routed through, so even if I wanted to unplug the LEDs from the battery and exchange wiring, I couldn’t. Oh well, at least it all fit relatively nicely under the top plate after I got everything screwed together.
With a little detail paint and some weathering, and the replica was looking quite superb.
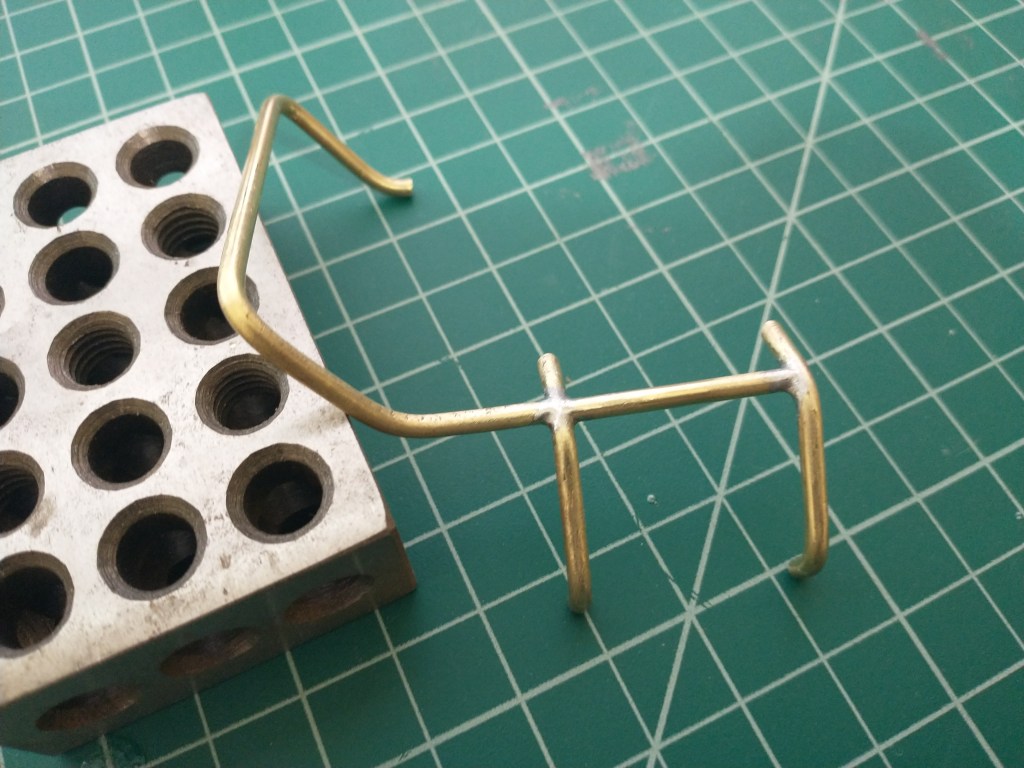
Now for the most frustrating part of this replica. Annealing, bending, and soldering 3mm brass… is an absolute pain. In a prior post, I think it may have been Part 1, maybe, I mentioned that many parts of this model would be better off printed on an SLA machine, and I believe this still remains true. I did use a smaller diameter nozzle to get some finer detail on parts, but SLA is still better in my opinion for strange shapes what with how things are printed and the support material used. Anyway, I don’t have an SLA 3D printer and I didn’t want to order the file printed online and shipped to me, not worth it, I thought. Well, honestly, it probably would have cost me about the same amount of money and saved me the frustration that I went through trying to use brass to make the cage around the front of the replica.
I didn’t take pictures at all during the bending and soldering process, because I just did not have the patience to do so, even though it would have been more informative than rambling on about my frustrations. Anyway, I decided to by some solid 3mm brass rods, along with them I also bought a small butane kitchen blow torch to be able to anneal the brass with. Heat it up using the blowtorch to make the metal softer and then bend it with pliers, sound simple right? Apparently I was wrong. Solid 3mm brass was probably not the best choice, as that’s a lot of metal to actually bend, and it did not want to do so very well. The other half of the frustration came from the fact that I did not have a bending chart for the brass rod, and had to go as best I could from hand-written dimensions from my CAD model. In addition to that, I learned my dimensions in the model were not going to work as well as I thought. I thought the brass would have enough flex in it, so that I could easily bend it into position on the model. Nope, solid brass rods are very stiff, on account of them being solid brass, go figure.
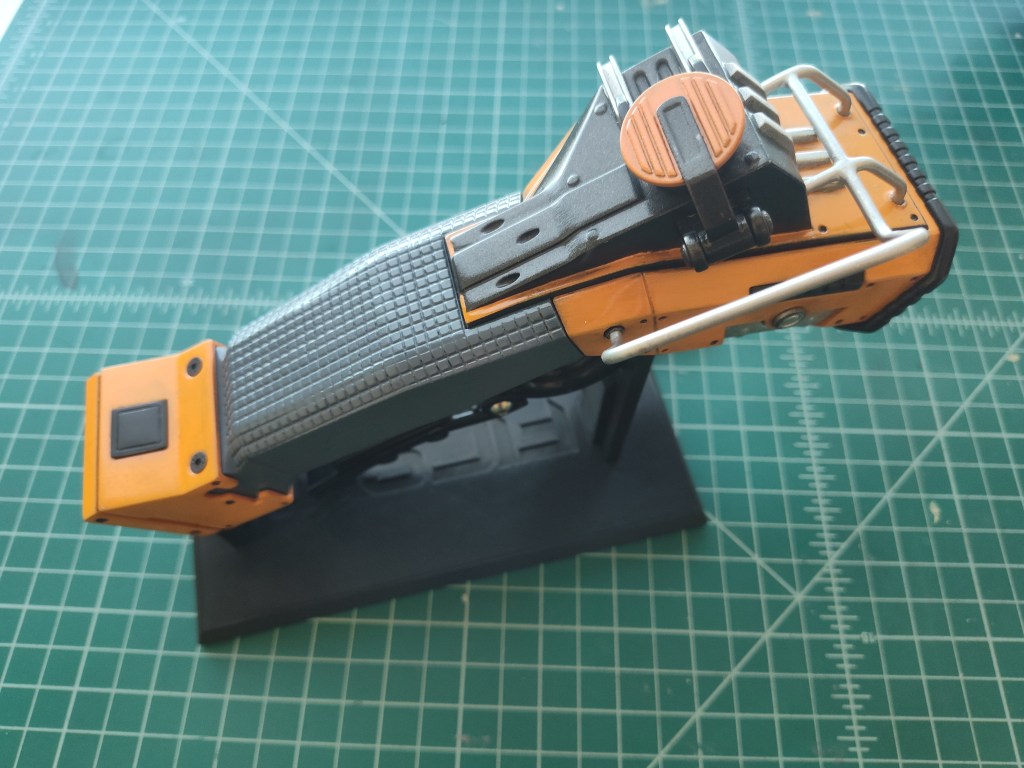
So, there was a lot of heating, bending, cutting, and then sanding of the rods to get them to the right length. After that, I had to figure out how to solder them together. I didn’t really this think this part through, and at first, I thought that I could just stick them in the replica and solder them together in place. Bad idea. Brass conducts heat really well and has to be heated hotter than the melting point of the PLA plastic for the solder to flow correctly. So after realizing this, I quickly removed it from my mostly finished replica and decided to use one of the test prints I had from my initial prints. This worked for the most part until I ended up deforming the plastic enough that it wasn’t all that useful anymore. But it got me to where I needed. I was able to get the brass cage soldered together. My solder joints looked like garbage, but hey, nothing a little sanding of the joints could fix, right? Well… yes… and no… sanding the joints while it made the solder look joints look nice thinned the solder and well, solder is actually more brittle than the brass, so when I tried to fit the cage on the replica, and remember, the brass is fairly stiff and won’t flex much, I ended up snapping the solder joints… many times… After lots of trial and error, I finally ended up with a decent looking cage as seen below. Now I had to paint it.
I figured, I had some self-etching primer, which is meant for painting metal. I forget what project I bought it for ages ago, but I figured “sure, that should work”. Well me and my impatience in waiting for things to dry and cure properly, it took some doing to get the primer to stick correctly. I think I may have ended up sanding most of the primer off, because not only did it not want to stick properly, it enlarged the diameter of the brass too much with the thickness of the paint.
After that failure, I had another brilliant idea… I had some Rub ‘n Buff metallic silver wax finish. The problem with that, was that it was actually rather old, as I’d bought it years ago now. And I think maybe the wax and the coloring had separated. So it didn’t quite want to rub and buff all that well onto the brass and more or less kept wiping off. Eventually I settled on applying the Rub ‘n Buff with a small paint brush that I didn’t care all that much about. It still wanted to wipe off when buffed, so I decided to top coat it with some clear-coat spray-paint. And after letting it properly dry and cure for a few days, worked like a treat. I was finally able to call it done and fit it on the replica.
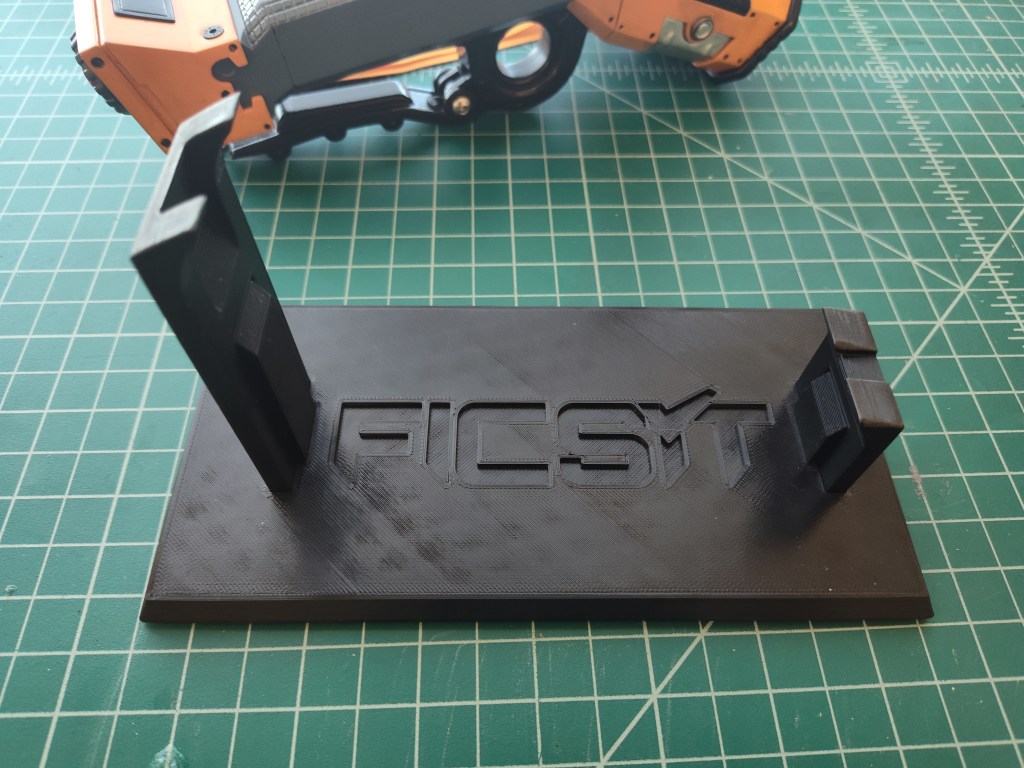
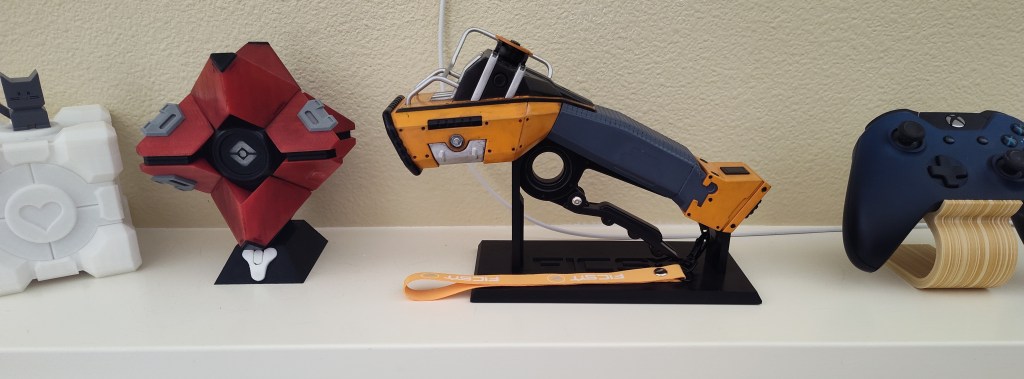
The final thing it needed now, was a stand so I could display it. Due to the odd shape of the head to the body, and the grip, and trigger, and lanyard getting in the way whenever it was set down, I had some trouble coming up with a good stand that I liked the look of. And while what I did come up with works, I think there’s probably better ways to do it, something more thematic, maybe more… Satisfactory. Either way, it looks good on its stand and on my mantelpiece next to all my other prints! Now, if I can just figure out how to get some stickers made for it…